Chat Collections
Deep dives into every tool on stage
Chat Collections
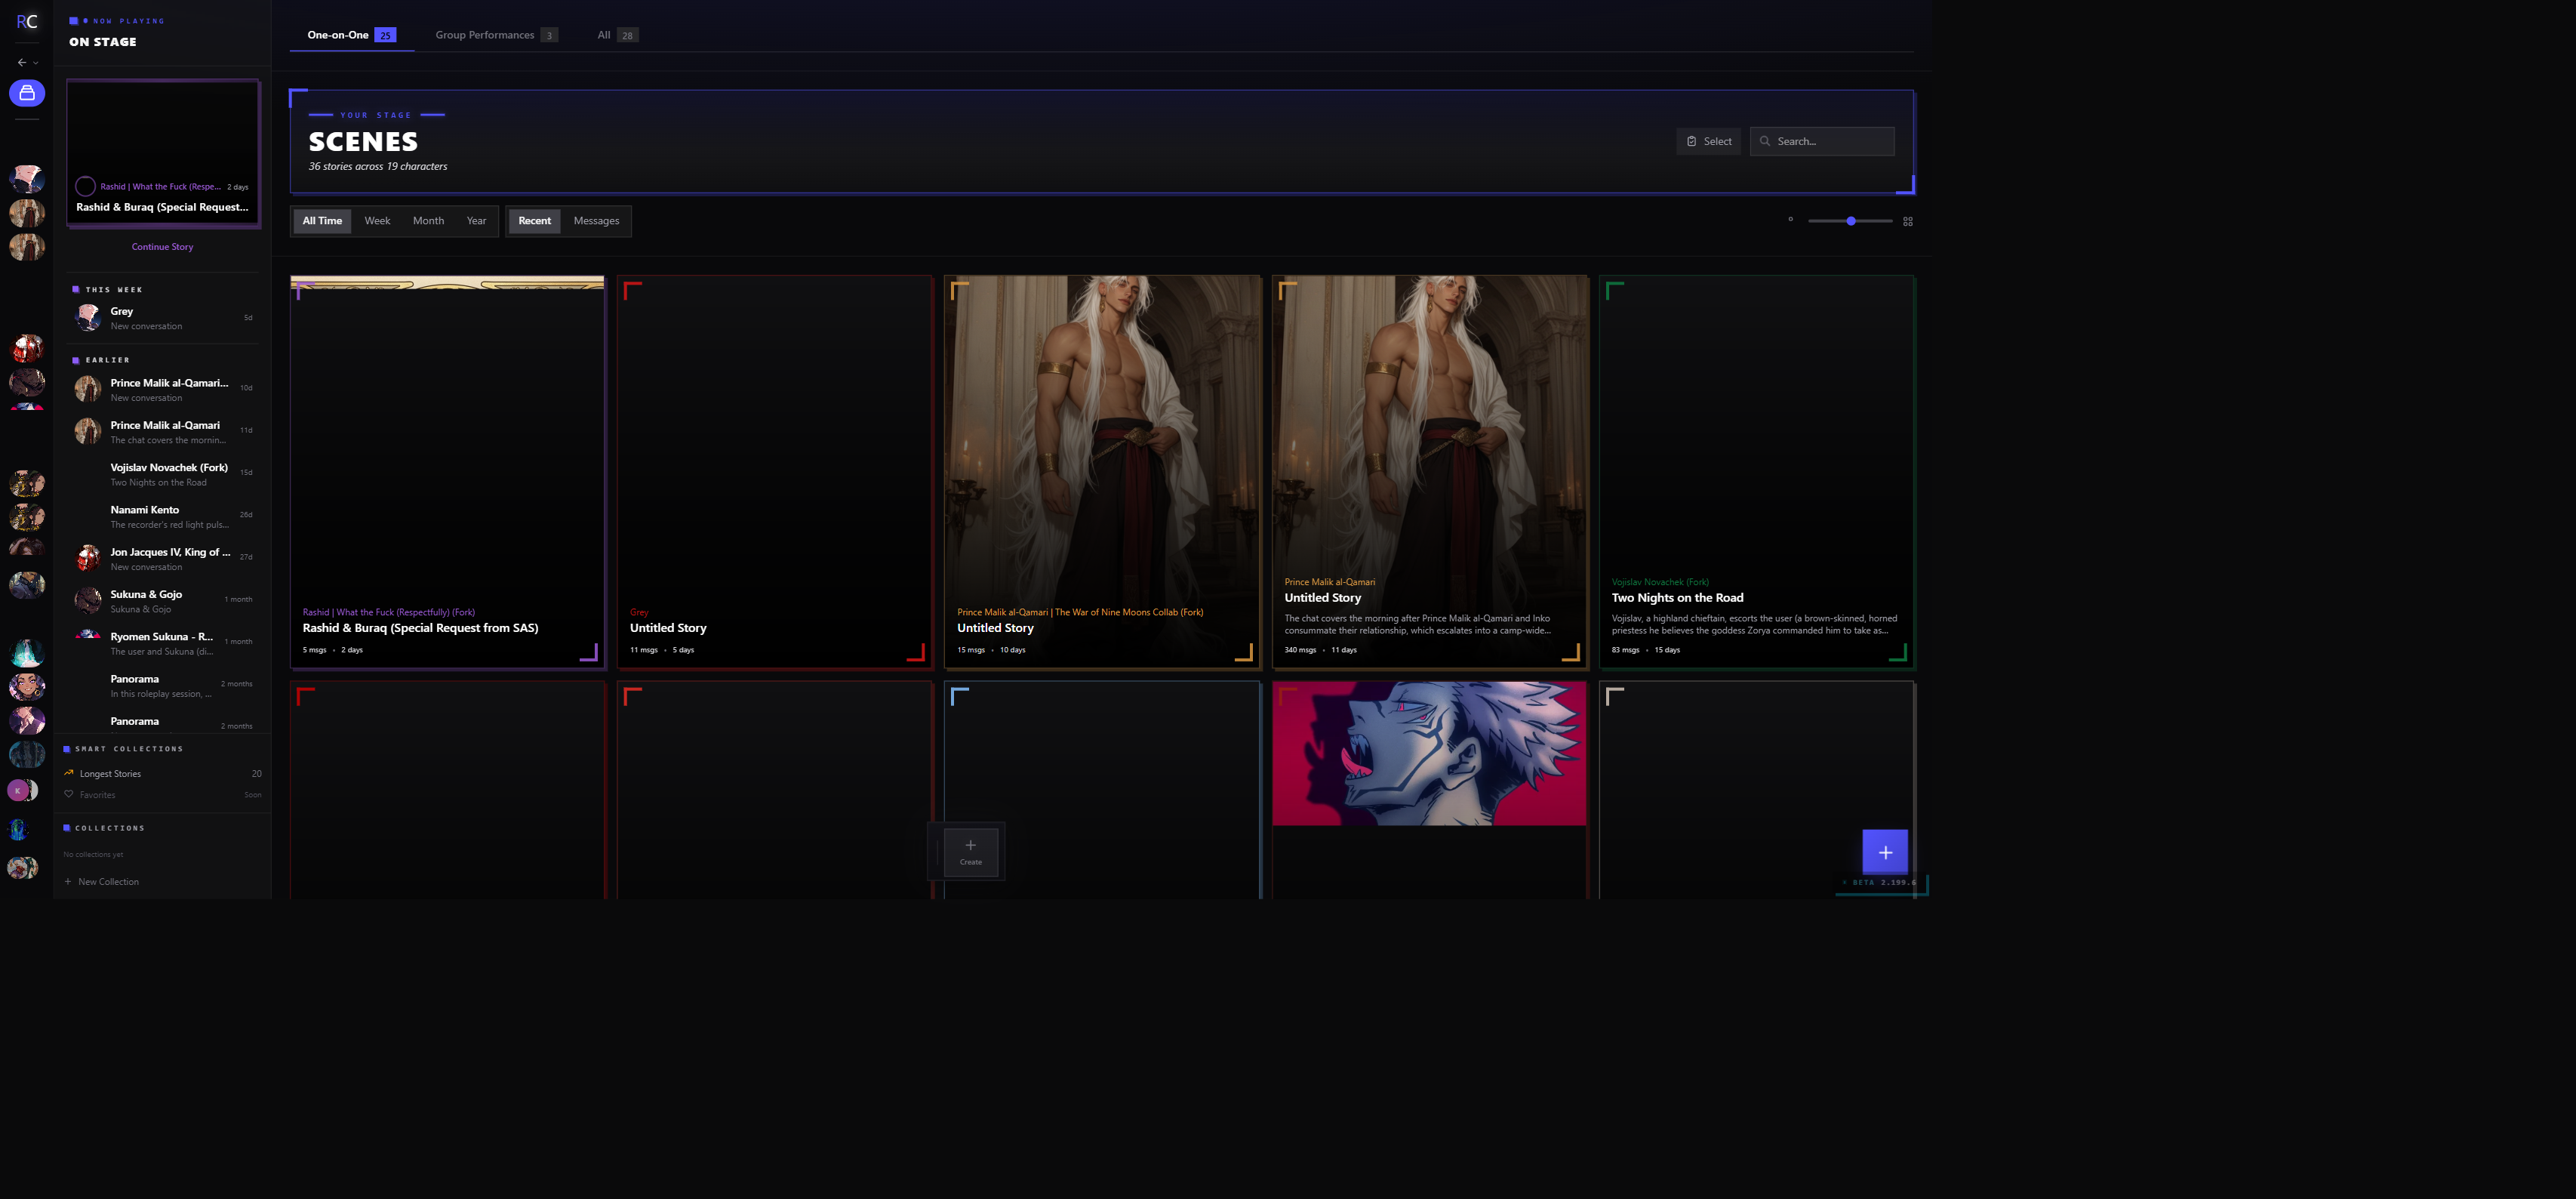
A Chat Collection is a named folder that groups scenes for personal organization. If you have a hundred scenes spread across a dozen characters and three different worlds, collections are how you find the one you're looking for.
Collections are deliberately personal: they never appear on Discovery, they're never published, and other users never see them. They exist entirely for your own orientation inside your scene history.
What Collections Are — and Aren't
A collection is not a Loadout (which groups AI settings, models, and presets for quick reconfiguration) and not a Library Carousel (which groups published content for sharing on your portfolio). Collections organize your scenes. That's all they do, and they do it well.
A scene can belong to more than one collection. Collections behave more like tags than strict folders — assigning a scene to "Ongoing Campaigns" doesn't prevent it from also living in "With Mira" or "Summer Arc." Removing a scene from a collection never deletes the scene itself.
Where to Find and Manage Collections
Everything collection-related lives on your Scenes page (/scenes). This is the history list of all your chats — each card shows the character, scene title, last-updated timestamp, and an indicator of which collections it belongs to.
The left side of the Scenes page carries a collection filter panel. All your collections appear here as chips. Clicking one filters the scene list to that collection only. Click a second collection chip while one is already active to toggle between them. The "All Scenes" chip at the top resets the filter.
Settings → Loadouts mentions collections in passing when explaining how Loadouts differ from organizational tools, but collection management itself always happens on the Scenes page.
Creating a Collection
Open the Scenes page and click New Collection (the + button near the collection filter panel). A creation form appears:
| Field | What it does |
|---|---|
| Name | Required. Short and clear — "Vampire Saga," "Quick One-Shots," "Mira's Stories" |
| Emoji or color | Optional. An emoji (🌙, ⚔️, 🌿) or a color chip appears on the filter chip and on scene cards when that collection is assigned |
| Description | Optional. A note to yourself about what belongs here |
There's no hard limit on number of collections. Create as many as you need — the filter panel scrolls.
Assigning Scenes to Collections
Two ways to assign a scene.
From the scene card. Each card on the Scenes page has a quick-action menu (the … icon). Open it and pick Add to Collection — a dropdown lists all your collections with checkboxes. A scene can be checked into multiple collections at once.
By dragging. Drag a scene card onto a collection chip in the filter panel on the left. When the chip highlights, drop. The scene is added to that collection. Dragging doesn't remove it from other collections — it adds.
Removing a scene from a collection works the same way: open the … menu → Manage Collections → uncheck the collection you want to remove it from.
Filtering Your Scene List
With collections set up, the Scenes page becomes navigable.
- Click any collection chip to filter to just those scenes.
- The scene count ("7 scenes") appears on the chip while a filter is active.
- Sort and filter controls work within a filtered collection view — you can further narrow by character, date range, or search term inside a collection.
- Scenes that belong to no collection still appear under "All Scenes." They're not lost; they're just unfiled.
The filtered view is the same as the full view otherwise — you can open scenes, branch, rename, and manage from here normally.
Bulk Operations on Collections
Select multiple scenes in a collection by holding Shift and clicking scene cards, or using the Select All affordance in the … menu next to the collection name. With scenes selected, a bulk action bar appears at the bottom:
| Bulk action | What it does |
|---|---|
| Pin to top | Pins the selected scenes to the top of the list across all views |
| Add to collection | Adds all selected scenes to another collection |
| Remove from collection | Removes all selected scenes from the current collection filter view |
| Archive | Archives all selected scenes — they leave your active Scenes list but aren't deleted. Find archived scenes via the Archived filter chip |
| Export as bundle | Packages the selected scenes into a JSON bundle for download. See Import & Export for what the bundle contains and how to re-import it |
Archive an entire collection by opening the collection's … menu and choosing Archive Collection. This archives every scene in the collection in one step. The collection itself remains (empty) unless you also delete it. Archived scenes can be individually restored later.
Delete a collection from the same … menu. Deleting a collection does not delete the scenes inside it — it only removes the collection grouping. The scenes stay in your history under "All Scenes."
Exporting a Collection
The Export as bundle option on the bulk action bar creates a single JSON file containing every selected scene's message tree, configuration, and metadata. This is the same format the individual scene export uses — the bundle is just multiple scenes in one file.
The export does not include your encryption key. When you import the bundle on another account or device, you'll be asked for the recovery phrase that was active when those scenes were created. See Import & Export for the full round-trip.
Privacy Model
Collections are personal. No part of a collection — its name, its description, which scenes are in it — is ever shared, published, or visible to other users. Discovery queries do not read collection membership. A scene's position in your collections has no effect on its published status or visibility to anyone but you.
If you fork a scene to share with someone else, the collection assignment does not travel with the fork. The fork arrives in the other user's library as a standalone scene.
Tips
Separate ongoing from done. A collection called "Active" or "In Progress" and another called "Finished" is the simplest possible system. Move scenes between them as arcs close.
Organize by character or world. If you write with the same cast repeatedly, a collection per character ("Everything with Mira," "The Ashen Court crew") keeps long-running story threads easy to find and resume.
Organize by lore group. One collection per lorebook or setting keeps worlds from bleeding into each other. All your sci-fi scenes in one collection, all the high-fantasy scenes in another.
Use color for mood, emoji for genre. A warm amber chip for romance scenes, a cooler blue for mystery, a sword emoji for action-heavy campaigns. Visual anchors make the filter panel scannable at a glance.
Organize by time period. Collections named by month or season let you see how your scene history evolves over time — "Spring 2025 one-shots," "Summer arc," "Before the reboot."
Unfiled isn't broken. Scenes don't have to be in any collection. If you mostly do short one-offs with one ongoing campaign, tag the campaign with a collection and leave everything else unfiled. The "All Scenes" view always catches them.
Use Archive to unclutter without deleting. Archiving a completed story arc collection removes it from active view while keeping it permanently accessible. Unlike deleting, archiving is easily reversible.
Export before a major rewrite. If you're about to branch heavily into a new direction, export the current state of a collection first. The JSON bundle is a point-in-time snapshot you can restore from later.