Scenes & Chat
Deep dives into every tool on stage
Scenes & the Chat Interface
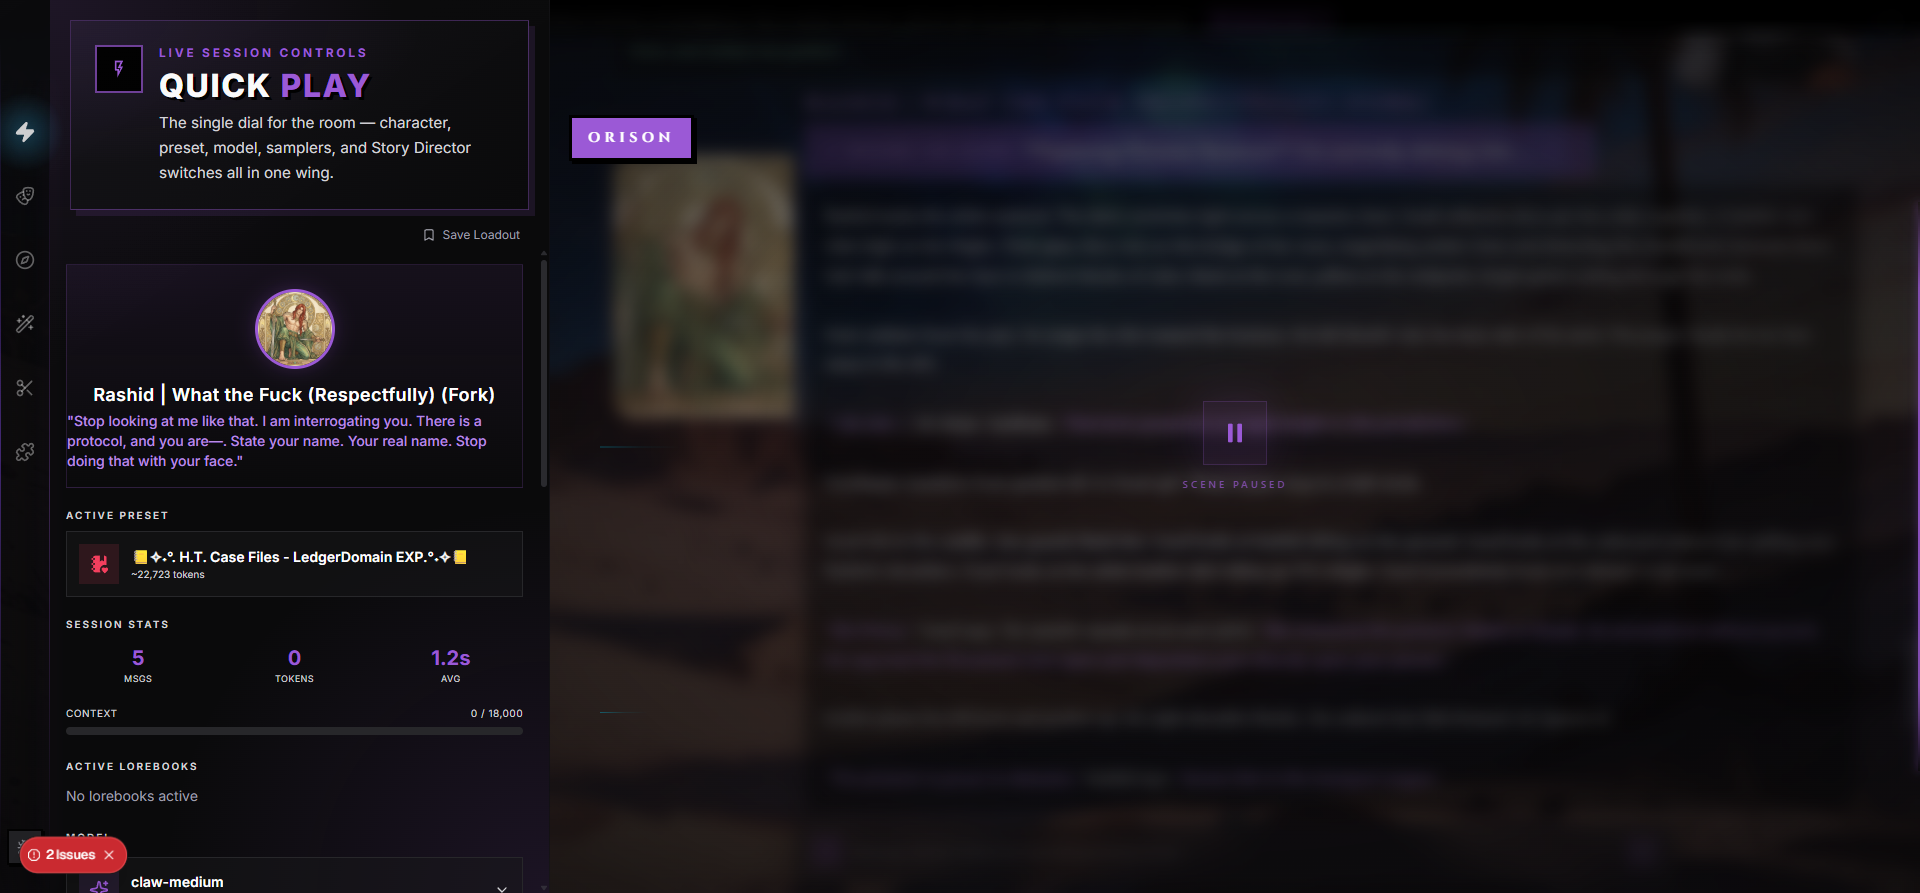
A Scene is a chat session — one Character, one Persona, one Preset, optional Lorebooks, plus a message tree you can branch through. Everything that happens between you and the AI lives inside a scene.
If a Character is the actor and a Preset is the script, a Scene is the actual performance: the stage, the audience, the cameras rolling. You can have hundreds of scenes with the same character, each one its own conversation with its own history.
What a Scene Is
The scene text-size control sizes both messages and the prose you type in the composer. On phones, both use the same bounded readable size; increasing the setting does not enlarge buttons or other controls.
Every scene is its own self-contained chat. It remembers:
- The character you're talking to (and which alternate art is active, if any)
- The persona you're playing as
- The preset driving the AI's behavior
- Which lorebooks are attached and which entries have triggered
- Every message exchanged, plus every alternate swipe of every AI message
- Any branches you've forked off into alternate timelines
- Per-scene overrides — different model, different sampler, different stage settings
- Your current draft in the compose bar (saved per-scene so it survives reload)
When you come back to a scene the next day, everything is exactly where you left it. The scene URL itself is shareable inside your own account — bookmark it and you'll land back in the same conversation.
Changing a Scene's Loadout
Open Change setup in the Control Booth to browse your saved loadouts. Choose Apply on a loadout to use it immediately with the default merge/replace rules, or Review changes to inspect affected panels and adjust those rules first. Applying a loadout leaves the scene's messages untouched.
In the review, Start a new scene opens a fresh scene with the same character and selected loadout. It does not copy the conversation or change the current scene.
Starting a New Scene
There are two ways into a scene.
From a character's page. Click Start Chat (or New Scene) on any character — yours, a forked one, or a published one you've never chatted with before. RoleCall creates a fresh chat, applies your defaults (preset, persona, model, stage settings), and drops you straight onto the configure stepper or the chat itself depending on your experience setting.
From your Scenes list. Story cards and Now Playing reopen the last-selected take when it still belongs to that story. If that take is unavailable, they open the original story. Searching take names and filtering by recent activity also include nested takes, not just direct branches.
Story folders
Folders in /scenes organize individual stories, separately from character-card
folders in Library. Right-click a story, or long-press it on mobile, to add it to
one or more folders. Clicking a checked folder removes only that membership.
Remove from all folders clears that story's memberships without deleting it.
Deleting a folder never deletes its stories. Other stories using the same
character are unaffected. Group performances remain in their separate list.
The Configure Stepper
If you're set to Power User experience, the new-scene flow opens a multi-step configurator:
- Preset — choose the preset that runs the AI, optionally with per-prompt toggle overrides for this scene only
- Lorebooks — attach world info that should be live for this scene
- Your Stage — display options (message style, layout, accent color source, background, audio, autoscroll)
- Props — opt in to game-like trackers (battle, relationships, map, quests, inventory, corruption, parallel events, bonds, knowledge, calendar, biological cycles, spellbook, gossip, memory journal, creature codex)
If your account is set to a streamlined experience, RoleCall picks sensible defaults from your account preferences and skips the stepper. You can always reopen any of these screens later from the rail wings.
Alternate Greetings
If the character has multiple opening messages, the Greeting Selector appears before the first message lands. Pick the scenario you want — battlefield encounter vs. coffeeshop meet-cute — and that becomes the scene's opening turn. Greetings only matter on turn one; after that, the scene proceeds as normal. In a Group Chat the selector becomes a per-character picker so you can choose which character opens and which of their greetings runs.
Trigger Warning Acknowledgment
If the character has trigger warnings attached, the configure stepper surfaces them with their severity level before you start. You either acknowledge and proceed, or back out. Acknowledgment is remembered per-scene so you're not asked again on the same chat.
The Layout — Rails, Wings, Chat, Compose Bar
The chat surface is divided into four zones.
Rails
The left rail and right rail are vertical icon strips that hug the edges of the viewport. Each icon is a wing — a panel that slides out when you click it. The rails are always visible on desktop. On mobile, they collapse into a floating dock at the bottom of the screen.
Hover behavior. Sliding your cursor anywhere over the rail surfaces every wing label at once. Holding hover on a single icon for half a second reveals its longer description tooltip. Tooltips have a short grace window after you leave the rail so you can move onto them without them dismissing.
Active flash. When you open a wing, its label flashes for about a second and then fades unless you re-hover. This is how the rail tells you "yes, this is the one that opened."
Collapsing. Pressing the backtick key (`) collapses both rails to a narrow 50-pixel strip — useful when you want maximum reading width without losing rail access entirely. Press again to restore. The Display wing has a Hide Wings toggle for permanent slim mode.
Wings
A wing is a slide-out panel anchored to its rail. Desktop can keep one wing open on each side. Below 1024 pixels, only one full-screen wing stays open; opening another replaces it. If you narrow a desktop window with both wings open, the most recently opened wing remains. Escape dismisses it so you can reopen either side from the scene edge.
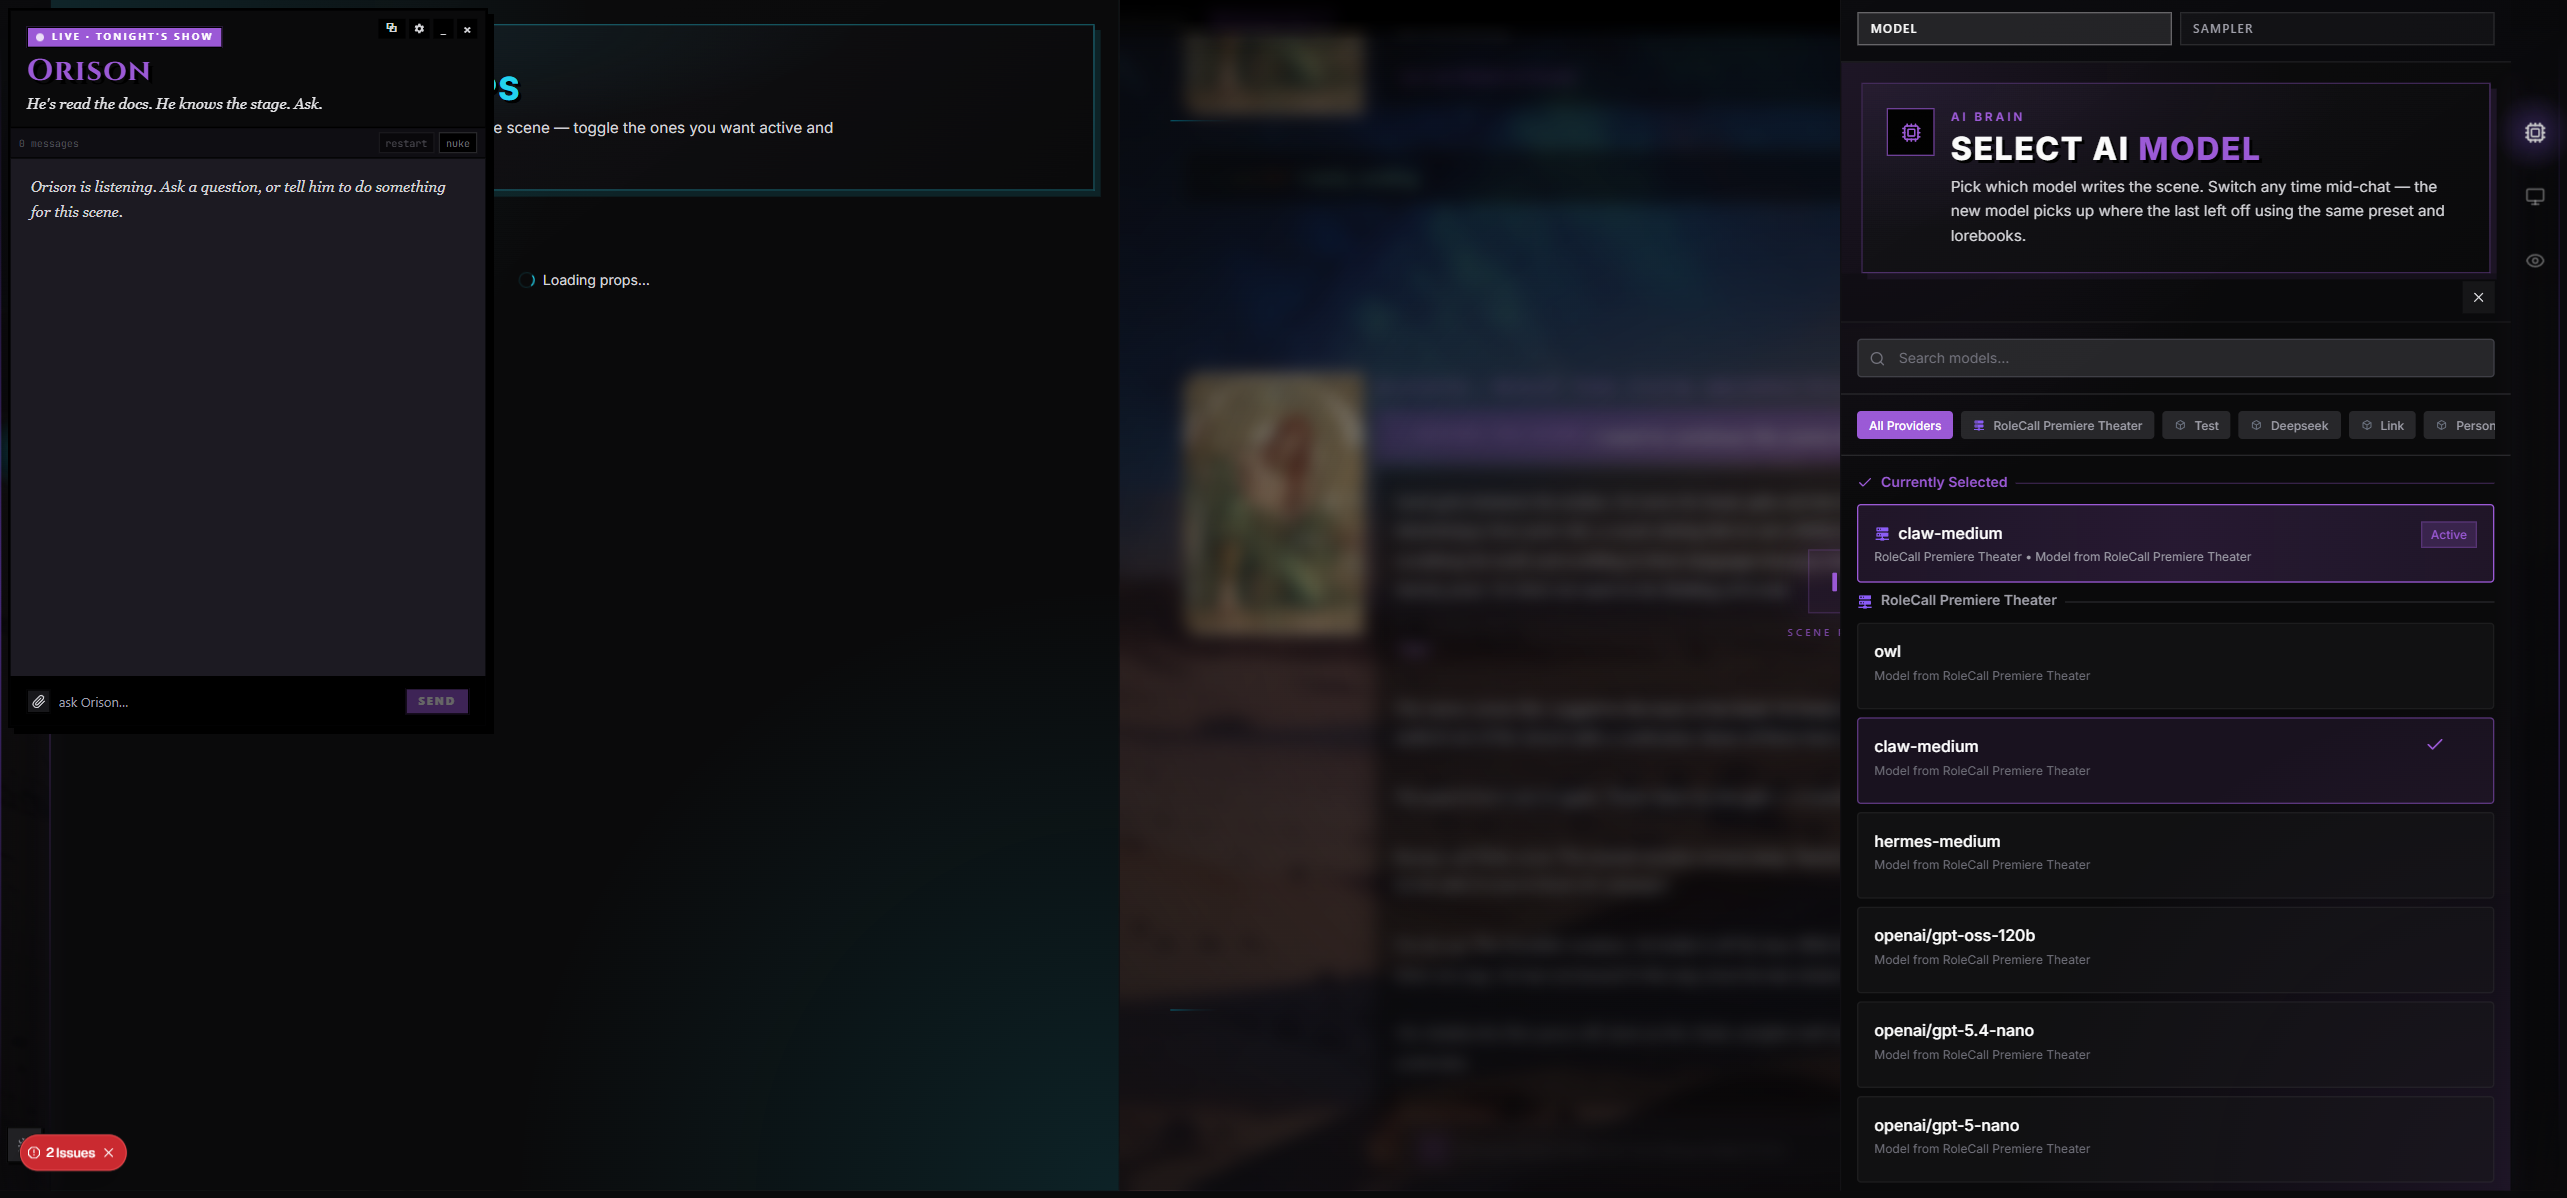
Some wings are grouped under a single rail icon and reveal sub-tabs when opened: Cast splits into Character / Persona; AI splits into Model / Sampler; Prompting splits into Preset / Guides / Author Note; World splits into Lorebook / Compendium; Post splits into Post-Prod / Regex; Props splits into Props / individual prop panels; Stage splits into Display / Gallery / Spotify; Context splits into Inspector / Summary / Active Lore / Prompt Preview; the Immersion group hosts Storyboards plus one tab per enabled tracker module.
Other wings stand alone: Quick Play, Story Director.
Sub-tab badges. Tab strips above wings often show live counts: Lorebook (3 linked), Guides (2 active), Regex (1 active), Props (4 active), Gallery (18 msgs), Inspector (last send). They give you a peek at what's running without opening the tab.
Chat Body
The center column holds the conversation: every message, in order, with swipe controls, branch indicators, and action buttons. Long scenes scroll. New AI messages stream in token by token; the view follows along unless you've scrolled up to read something earlier.
Message numbering. A small message number (#42) sits in the left margin of every message on desktop. Useful when you're using slash commands like /hide range 12-18.
Compose Bar
The compose bar at the bottom is where you type. It includes the textarea, a send button, an attach-image button (paperclip), a + tools popover, a Panels jump popover, action pills above the input (Continue, Impersonate, More menu), a live token estimate, and a Script-panel quick button with active-count badge. The compose bar handles slash commands, @-mentions, image paste, draft persistence, steering ribbons, and Polish Input before/after compare.
Standard Mode vs Immersive Mode
Every scene has two display modes. You toggle between them from the Display wing (right rail → Stage → Display).
Standard Mode
The default. Both rails are visible, messages appear in a structured column, and panels sit alongside the chat. Best when you want quick access to wings, when you're configuring a scene, or when you're working with trackers and props.
Immersive Mode
Strips the chrome. The header thins to a slim 44-pixel strip with just the character name, tagline, branch indicator, and a Settings icon. Both rails collapse into thin edge indicators on the screen edges. The conversation takes over the screen. The compose bar becomes a glass capsule floating at the bottom with a chevron shelf of tracker pills sitting just above. Background images and ambient audio breathe through more clearly. Best for storytelling sessions where you want to be there, not adjust dials.
You can still reach every wing in Immersive Mode — the edge indicators slide out on hover, and the chevron shelf above the input pops up the active trackers.
The Chevron Shelf. A row of small color-coded pills that surfaces live tracker state inline. Each pill links straight to its tracker's wing panel. Examples:
| Pill | Shows | Color |
|---|---|---|
| Battle | Round 4 (only when in combat) | Red |
| Resources | HP 12/20 | Red (HP convention) |
| Storyboards | Single entry point when any storyboard module is enabled | Emerald |
| Spellbook | {count} Spells | Indigo |
| Inventory | {count} Items | Purple |
| Corruption | Percentage (only when > 0) | Deep violet |
| Parallel Events | {count} Events | Sky |
| Bonds | {count} Bonds | Crimson |
| Knowledge | {count} Entries | Teal |
| Memory Journal | {count} Memories | Pink |
| Party | {count} Party | Amber |
| Scene Time | Time-of-day icon + label | Amber |
| Scene Weather | Weather + intensity (skipped when clear) | Sky |
| Scene Atmosphere | Atmosphere label (skipped when neutral) | Color matches atmosphere |
| Present NPCs | {count} NPCs in scene | Violet |
The shelf collapses to a chevron when there's no live data, then expands when something interesting appears. You can also press the chevron above the input to fold or unfold it.
The default mode is per-account and can be overridden per-scene from Display settings.
Sending a Message
Type into the compose bar and hit Send (the circular accent-colored button), or press Enter. The message attaches to the conversation immediately. Then the AI's reply streams in — you'll see tokens appear in real time.
Keyboard Submit
- Enter — send the message (desktop)
- Shift+Enter — newline (start a new paragraph)
- Ctrl+Enter — also sends from anywhere, even when an autocomplete is open
- Enter (touch device) — newline only; you must tap Send. RoleCall detects coarse pointers and disables Enter-to-send to avoid sending half-typed messages from on-screen keyboards
What Happens on Send
RoleCall assembles the prompt (character card + persona + lorebook context + chat history + preset prompts + active guides + author note + active stagecraft state), submits it to your selected model, and streams the response back. The status of the in-flight job is visible — if anything fails partway, the partial text is preserved so you don't lose what was generated.
Stop Mid-Stream
While the AI is generating, the send button turns into a Stop button. Click it (or press Esc) to cancel. Any text that already streamed in stays — it becomes the message as-written, and you can swipe to regenerate if you want a different take.
If the network connection drops or the model errors out, the partial response is preserved the same way. You'll see an inline error indicator in the activity feed and you can Continue, Retry, or Edit from where it stopped.
Tokens
The compose bar shows a live token estimate for your draft (~84 tokens). This is rough (about 4 characters per token) but useful for keeping replies inside the model's context budget.
Send Only
Hidden inside the + Tools popover. Send Only posts your message without triggering the AI reply — useful when you want to leave a stage note, plant a hook for next turn, or queue up multiple consecutive user messages before letting the AI respond.
Message Actions
Every message has its own row of action buttons. On desktop they show on hover. On mobile, single-tap the message to surface them; tap again to hide. Action buttons appear in a small toolbar below the message; some actions also live as floating pills above the compose bar.
The Full Action Roster
| Action | Where | What it does |
|---|---|---|
| Edit | Every message | Switches the message into an editable textarea. Save to commit (Ctrl+Enter), cancel to discard (Esc). Works on AI and user messages. If the message has a Thinking block, edits scope to body-only by default with a separate edit affordance for the thinking content. |
| Copy | Every message | Copies the message text to your clipboard. |
| Delete | Every message | Opens a menu: Delete swipe N/M (if there are multiple swipes), Delete this message, Delete this & all after. Mobile shows it as a bottom sheet; desktop as a small dropdown. |
| Hide | Every message | Toggles message visibility for the AI's context. You still see the message dimmed and marked as out-of-context; the AI does not. The icon switches between Eye and Eye-with-slash to show the current state. |
| Branch | Any message after the first | Forks the conversation here into a new Take. Both branches are preserved; switch between them later from the branch picker. |
| Continue | Last AI message only | Picks up where the AI left off, extending its last reply. Useful when the model cut short or you want it to keep going. Shows a spinner while running. |
| Regenerate | Last user message only | Throws away the AI's response and rolls fresh. Equivalent to swiping right at the end of the swipe stack. |
| Impersonate | AI messages | Has the AI write your next message — {{user}}'s reply, in your persona's voice. You can also feed it a brief outline that gets expanded; see Impersonate. |
| Correct | Every message | Opens the Correction Tools panel — spellcheck, correction-guide-driven rewrites, or selection rewrite of highlighted text. See Correction Tools. |
| Guided Swipe | AI messages | Regenerate with a steer. Pick a Guide from your library or type custom instructions; the message is rerolled following that direction. See Guided Swipe. |
| Reply | Any message (when enabled) | Quote-reply to a specific earlier message; the AI sees the relationship between the two. |
| Resync Trackers | AI messages with multiple swipes | Re-runs the Story Director analysis against the currently-shown swipe so battle / relationship / map state matches what you actually picked. |
| View Metadata | AI messages | Opens a JSON viewer with the message's metadata (job ID, DM directive snapshot, immersion snapshots). Icon is cyan when metadata exists, dim when not. |
| Post-Production Badge | AI messages that ran a post-prod pipeline | Shows which passes ran with a before/after diff. Has a Rerun button if you have passes enabled but the pipeline didn't include all of them. |
| Inline Image Regenerate | AI messages with an inline generated image | Reruns the image gen with the same seed (or a new one) without touching the text. |
Action Pills Above the Input
Two of the most-used actions also live as floating pills above the compose bar: Continue and Impersonate. These fire against the most recent AI message — you don't have to hover into the message row to reach them.
A third pill, the … More menu, holds the rest of the chat-level actions:
- Regenerate (Ctrl+Shift+R)
- Stop (Esc)
- Prev Swipe (←)
- Next Swipe (→)
- Edit (↑ from empty input)
- Delete
Each row in the More menu shows its keyboard shortcut on the right.
Impersonate in Detail
Impersonate has two flavors:
One-tap impersonate. Click the Impersonate pill, the message-row Impersonate button, or use Ctrl+Shift+I. The AI writes your next message in your persona's voice. Empty input = "make something up."
Expand-a-brief impersonate. Open the + Tools popover, find Narrate / Impersonate, and tap the 1st / 2nd / 3rd person pill. Type a short brief like "she hesitates, then nods reluctantly" into the input first, then expand. The AI rewrites your brief as a full message in the perspective you picked. The popover remembers your last perspective choice between sessions.
| Perspective | Voice | Example |
|---|---|---|
| 1st Person | "I…" | I hesitated, then nodded reluctantly |
| 2nd Person | "You…" | You hesitated, then nodded reluctantly |
| 3rd Person | Character name | {{user}} hesitated, then nodded reluctantly |
A loading indicator runs while the expansion is in flight. The result lands in your compose bar — review it, edit if needed, then Send.
Correction Tools
Selecting text inside a message also opens the inline selection toolbar. On a narrow screen, scroll that toolbar horizontally to reach its remaining actions; the selection stays active.
Choose Custom to type an instruction for the selected text. The input keeps that selection while you type; Go applies it and Cancel returns to the action row.
If a rewrite model returns no replacement text, the request reports an error and keeps your original text. An empty model response is never treated as a successful deletion; use the explicit Delete action when you want to remove text.
The Correction Tools panel has three tabs:
- Spellcheck — clean grammar and obvious typos. Best for your own typing (especially if you're writing in a non-native language). A preview shows the diff before you accept.
- Corrections — apply a Correction Guide from your library (e.g. "drop em-dashes," "less flowery," "rewrite Mira to sound more annoyed"). You pick the guide; the message is rewritten in place.
- Rewrite — select text inside a message before opening the panel, then choose an action: Polish, Shorten, Lengthen, or a custom instruction. Only the selected span is replaced.
Both spellcheck and corrections show a before/after preview so you can compare and revert if the result isn't right. All three actions work on user and AI messages.
Guided Swipe
Regular Retry / Regenerate rolls the AI's reply afresh with the same prompt. Guided Swipe gives the model the rejected reply as an assistant draft, followed by your one-shot replacement direction. This lets it inspect the mistake without treating generated prose as system instructions:
- Click Guided Swipe on an AI message (or open it via the
+Tools popover). - Choose either a Guide from your library (categorized by type) or type custom guide content for one-shot instructions.
- The chat input switches into a steering ribbon showing the guide. Hit Send to regenerate with that steer.
Use Guided Swipe when Retry keeps producing the same vibe and you need to nudge the model — "make her warier," "less internal monologue," "this time start with the door opening." It's lighter than writing a permanent Guide entry — one-shot direction for one swipe.
When NOT to Use Continue
Continue is best when the AI's last reply is good but unfinished — the sentence was cut off, the scene needs another beat, you want one more paragraph. Don't use Continue to change direction; use Correct, Guided Swipe, or Retry for that. Continue carries forward exactly what's already on the page, so if the message went somewhere you don't like, continuing will only dig the hole deeper.
When NOT to Use Polish (Rerun Passes)
The Rerun option on the post-production badge reruns your currently-enabled post-production passes on a message. If no passes are enabled, the button is hidden. If you want to make a one-off improvement, use Correct or Edit instead — Rerun is meant for "I just turned on the Editor pass, apply it to this old message."
Branching and Swipes
A scene isn't a straight line — it's a tree. Two mechanisms let you explore alternatives.
Swipes
Every AI message can have multiple swipes: alternate generations for the same turn. When you regenerate, the new generation becomes a new swipe; the old one stays accessible.
Swipe counter. Shows under the message as 2 / 4 (you're on the 2nd of 4 swipes). Click the arrows to flip through them. The selected swipe is the one that "counts" — that's the version the next turn will build on.
Compare. When there are multiple swipes, a small Compare icon appears next to the counter. Clicking it opens a side-by-side modal so you can read both versions before committing to one.
WIP indicator. When you trigger a regenerate, the in-progress swipe gets a violet WIP pill with a spinner while it streams. The current view doesn't jump to it automatically — click the arrow to navigate in once you're ready.
NEW indicator. When a fresh swipe finishes generating while you're looking at an older one, a violet NEW badge appears on the counter. Click through to see it.
Per-swipe metadata. Each swipe carries its own model, generation time, and post-production result. Switching swipes updates the metadata displayed above the message (e.g. gpt-4o · 2.3s).
Keyboard navigation:
- Arrow Left — previous swipe
- Arrow Right — next swipe (or regenerate if you're already on the latest)
- Tab — cycle through swipes
- Arrow Up (from empty input) — edit your last message
Mobile gesture: double-tap the left side of a message for previous swipe, the right side for next. Single tap toggles the action buttons.
Delete a single swipe. The Delete menu has a Delete swipe N/M row when multiple swipes exist — removes just that one without touching the others.
Branches (Takes)
A branch is a heavier-weight fork. Where a swipe is "what else could the AI have said here," a branch is "what if the whole conversation went a different direction from this point?"
RoleCall uses a film metaphor for branches: the main timeline is the Director's Cut; each branch is a Take. Sub-branches off a take become numbered sub-takes (Take 2.1, Take 2.3, and so on).
When you branch from a message:
- A new chat is spawned at that point
- The new chat inherits every message up to and including the branch point
- From there forward, the two chats evolve independently
- Each branch has its own message history, its own trackers, its own everything
The branch picker. A clapperboard-icon pill in the scene header. Click it (or right-click for the same menu) to:
- See the Director's Cut + every Take and sub-Take
- Switch to any of them
- Rename a Take ("After Mira saves Garrett" instead of Take 3)
- Delete a Take (you'll be asked to confirm)
- Open the branching tree visualizer for a full graph view
You can branch from your own messages too, not just the AI's. Useful when you want to roll back a decision and try saying something different.
Attaching Images
If your model supports vision, you can attach images to your messages.
Three ways to attach:
- Click the paperclip in the compose bar
- Drag an image onto the chat
- Paste from clipboard (Ctrl+V) inside the input
Up to four images per message. Each image uploads as you attach it; a thumbnail strip above the compose bar shows progress and lets you remove individual attachments before sending. If your active model can't see images, you'll get a warning banner — switch to a vision-capable model from the AI wing or remove the attachments.
Attached images travel with the message. The AI sees them on this turn; future turns include them only if your preset's context settings carry them forward. Images you upload are stored privately and signed for the chat — they don't appear on Discovery or your profile, and signed URLs expire after about 50 minutes (RoleCall transparently refreshes them).
Click any attached image in the chat to open it full-size in a lightbox.
For images the AI generates (Chronicle-style inline pictures, auto-generated scene art), see the Generation Controls doc.
Polish Input
A different beast from message-level Correct. Polish Input runs over the draft you're about to send (not over an AI message), cleaning up grammar and flow. Find it inside the + Tools popover under Input → Polish Input.
While the polish is in flight, an emerald Polishing your draft ribbon appears above the compose bar. When it lands, the polished text replaces your draft. A compact before/after disclosure stays visible so you can:
- Tap to reveal the diff between the original and the polish
- Revert if the polish overcorrected
- Dismiss the compare panel and keep the polished version
Useful for: cleaning up frantic typing, smoothing a long paragraph before sending, translating-into-English fixes without sending the rough version to the AI.
Polish Input is for your own typing — not for AI output. For AI cleanup, that's what Correct and the post-production passes are for.
The Compose Bar in Detail
The + Tools Popover
Click the + icon (it rotates 45° into an X when open) to surface in-line tools, organized into sections:
Top
- Attach Image — opens the file picker (also available as the inline paperclip)
Act on AI
- Guided Response — type instructions; the AI follows them for its next message
- Guided Swipe — re-roll the last AI message with a steer
- Continue — extend the last AI reply
- Correct — open Correction Tools on the last message
Narrate / Impersonate
- Impersonate with the inline 1st / 2nd / 3rd person pill for expanding a brief
Input
- Polish Input — spellcheck your draft
- Send Only — post without triggering an AI reply
Panels
- Script — the combined Guides + Regex + Author Note panel; the row shows an active-count badge ("Script (3 active)")
- Or, if Script is split into separate buttons: Guide, Regex Scripts, Author's Note each as their own row
Debug
- Prompt Inspector: On/Off — toggles the inspector overlay
- Macro Debug: On/Off — only appears when there are stripped macros to warn about
The Panels Jump Menu
Next to the + is a grid-icon button — the Panels popover. It gives you one-click jumps to eight core wings:
| Panel | What it opens |
|---|---|
| Presets | The preset wing |
| Lorebooks | The lorebook wing |
| Persona | The persona sub-tab of the Cast wing |
| Character | The character sub-tab of the Cast wing |
| Display Settings | Fonts, colors, layout, message style |
| Quick Play | Fast-access play controls |
| Compendium | Character knowledge index |
| Memory / Summary | Chat memory and AI-generated summaries |
Faster than hunting through the rail when you know exactly where you're going. Only one popover (Tools or Panels) is open at a time — opening one closes the other.
@-mentions
Type @ to bring up the mention list — characters in the scene, members of a group chat. Filter by typing more characters. Use Arrow Up / Arrow Down to navigate, Enter or Tab to insert, Esc to close. The inserted mention reads as @Name and the cursor lands right after it.
In group chats, mentioning a character is a soft cue: the orchestrator uses it as a signal for who should respond next. If you're @-mentioned in an AI message, the message gets a gold highlight ring on your viewing.
Slash Commands
Type / at the start of a message to run a quick command. The autocomplete popup filters as you type, and Arrow Up / Arrow Down / Enter / Tab work to select. Esc dismisses without sending.
Compendium commands:
/tv status      — show current Compendium status
/tv on          — enable Compendium for this chat
/tv off         — disable Compendium for this chat
/tv summary     — request a summary on the next turn
/tv ingest      — ingest recent messages into the lorebook
/tv update: she's allergic to dogs
                — search and update a lorebook entry
/tv reorg       — reorganize lorebook (move/merge/split)
/tv help        — show Compendium help
Hide / Show commands (visibility of messages in AI context):
/hide last N    — hide the last N messages from AI context
/hide first N   — hide the first N messages
/hide range X-Y — hide messages X through Y (1-indexed)
/hide all       — hide every message
/hide status    — show what's hidden

/show last N    — unhide the last N messages
/show first N   — unhide the first N messages
/show range X-Y — unhide messages X through Y
/show all       — unhide everything
When you pick a command from the autocomplete that contains placeholders like N or X-Y, the placeholder text gets pre-selected so you can immediately type the value.
Slash commands don't send a message to the AI — they perform the action and leave your draft intact.
Drafts Survive Reload
What you've typed but haven't sent is saved per-scene. Close the tab, reload, drop network, switch devices and come back — your draft is still there. The draft clears automatically the moment you successfully send.
Typing Indicator
In group chats and shared scenes, the compose bar broadcasts "user is typing" while you're actively typing, then "stopped typing" two seconds after your last keystroke. The other participants see this near their compose bar.
Quick Script Button
Next to the compose bar is a small Script button that opens the combined Guides + Regex + Author Note panel directly. The button shows a badge with the total active count across all three (e.g. 3 when you have 2 guides + 1 regex script active). The panel pre-warms on hover so it's ready the moment you click.
Streaming Behavior
When the AI is generating, the message appears live — tokens stream in as they arrive. A subtle pulse on the message border indicates it's still in flight.
Streaming States
| State | What you see |
|---|---|
| Idle | Compose bar shows Send button. No pulse on messages. |
| Sending | Submit just happened. The user message lands instantly. Send button switches to Stop. |
| Streaming | AI message appears and tokens land in real time. The message has a subtle pulse and is auto-scrolled into view (unless you've scrolled up). |
| Thinking | If the model emits a Thinking / Chain-of-Thought block, it renders as a collapsible Behind the Scene card above the body, with a clapperboard icon and a duration once complete ("Thought for 8.4s"). Streams its own animated dots while in progress. |
| Stopped | You clicked Stop or pressed Esc. Partial text stays as the message. |
| Errored | Generation failed mid-stream. Partial text stays. You'll see an error indicator in the activity feed. Use Continue, Retry, or Edit to recover. |
Partial Preservation
If the generation fails partway, the connection drops, or you click Stop, the partial text is preserved. It becomes a regular (if cut-short) message. You can Continue it, Retry for a fresh take, or Edit to clean it up by hand.
Mid-Stream Activity Badges
Two floating badges may appear during generation:
- Compendium activity — the AI is searching, remembering, or updating lorebook entries. The badge color-codes the type of activity (search, remember, update, forget, summary, reorganize, ingest, triggered, post-gen). When something's happening, it pulses for about 6 seconds before settling.
- Director activity — the Story Director is updating trackers based on what just happened. Same color-coded scheme for tool calls (arc, seed, tracker, directive, momentum, backfill).
Both badges are draggable — you can park them anywhere on screen. Click for a recent-events list, double-click to open the full panel. They show a count of recent events from the past 5 minutes.
Tracker Sync Status
When the Story Director is reanalysing the scene against a different swipe, a small Tracker Sync badge appears near the message you're viewing. Wait for it to clear, or keep going if you don't mind drift.
Hide / Show Messages
Sometimes you want a message visible to you but invisible to the AI's context window. Use the Hide action on a message (or the /hide slash commands) to remove it from future prompts without deleting it.
Hidden messages render dimmed and marked as out-of-context. The AI won't see them on subsequent turns, but you can still read them, edit them, or unhide them later. A small "Hidden from AI" indicator sits next to the message header so you don't lose track of which ones are out.
Useful for:
- Out-of-character chatter you want preserved as a record
- Stage notes ("from here, she's been awake for 36 hours")
- Earlier exchanges that no longer fit the current arc
- One-off corrections you don't want the AI to keep referring back to
/hide status tells you how many messages are currently hidden and which range they cover.
Replies and Threading
When Reply is enabled in Display settings, every message gets a small Reply button on hover. Clicking it adds a quote-card above your draft showing the parent message's sender and a preview. When you send, your message appears with that quote attached, and the AI sees the relationship between them.
Reply threading also indents replies visually based on depth, so a long-running side conversation stays grouped without breaking the main scroll.
Per-Scene Settings
Many things you can configure for an account or a preset can be overridden just for this scene. Open the relevant wing to find the toggle.
| Setting | Where |
|---|---|
| Scene title | Header → click the title to rename |
| Branch name | Branch picker → Rename Take |
| Display mode (Standard / Immersive) | Stage → Display |
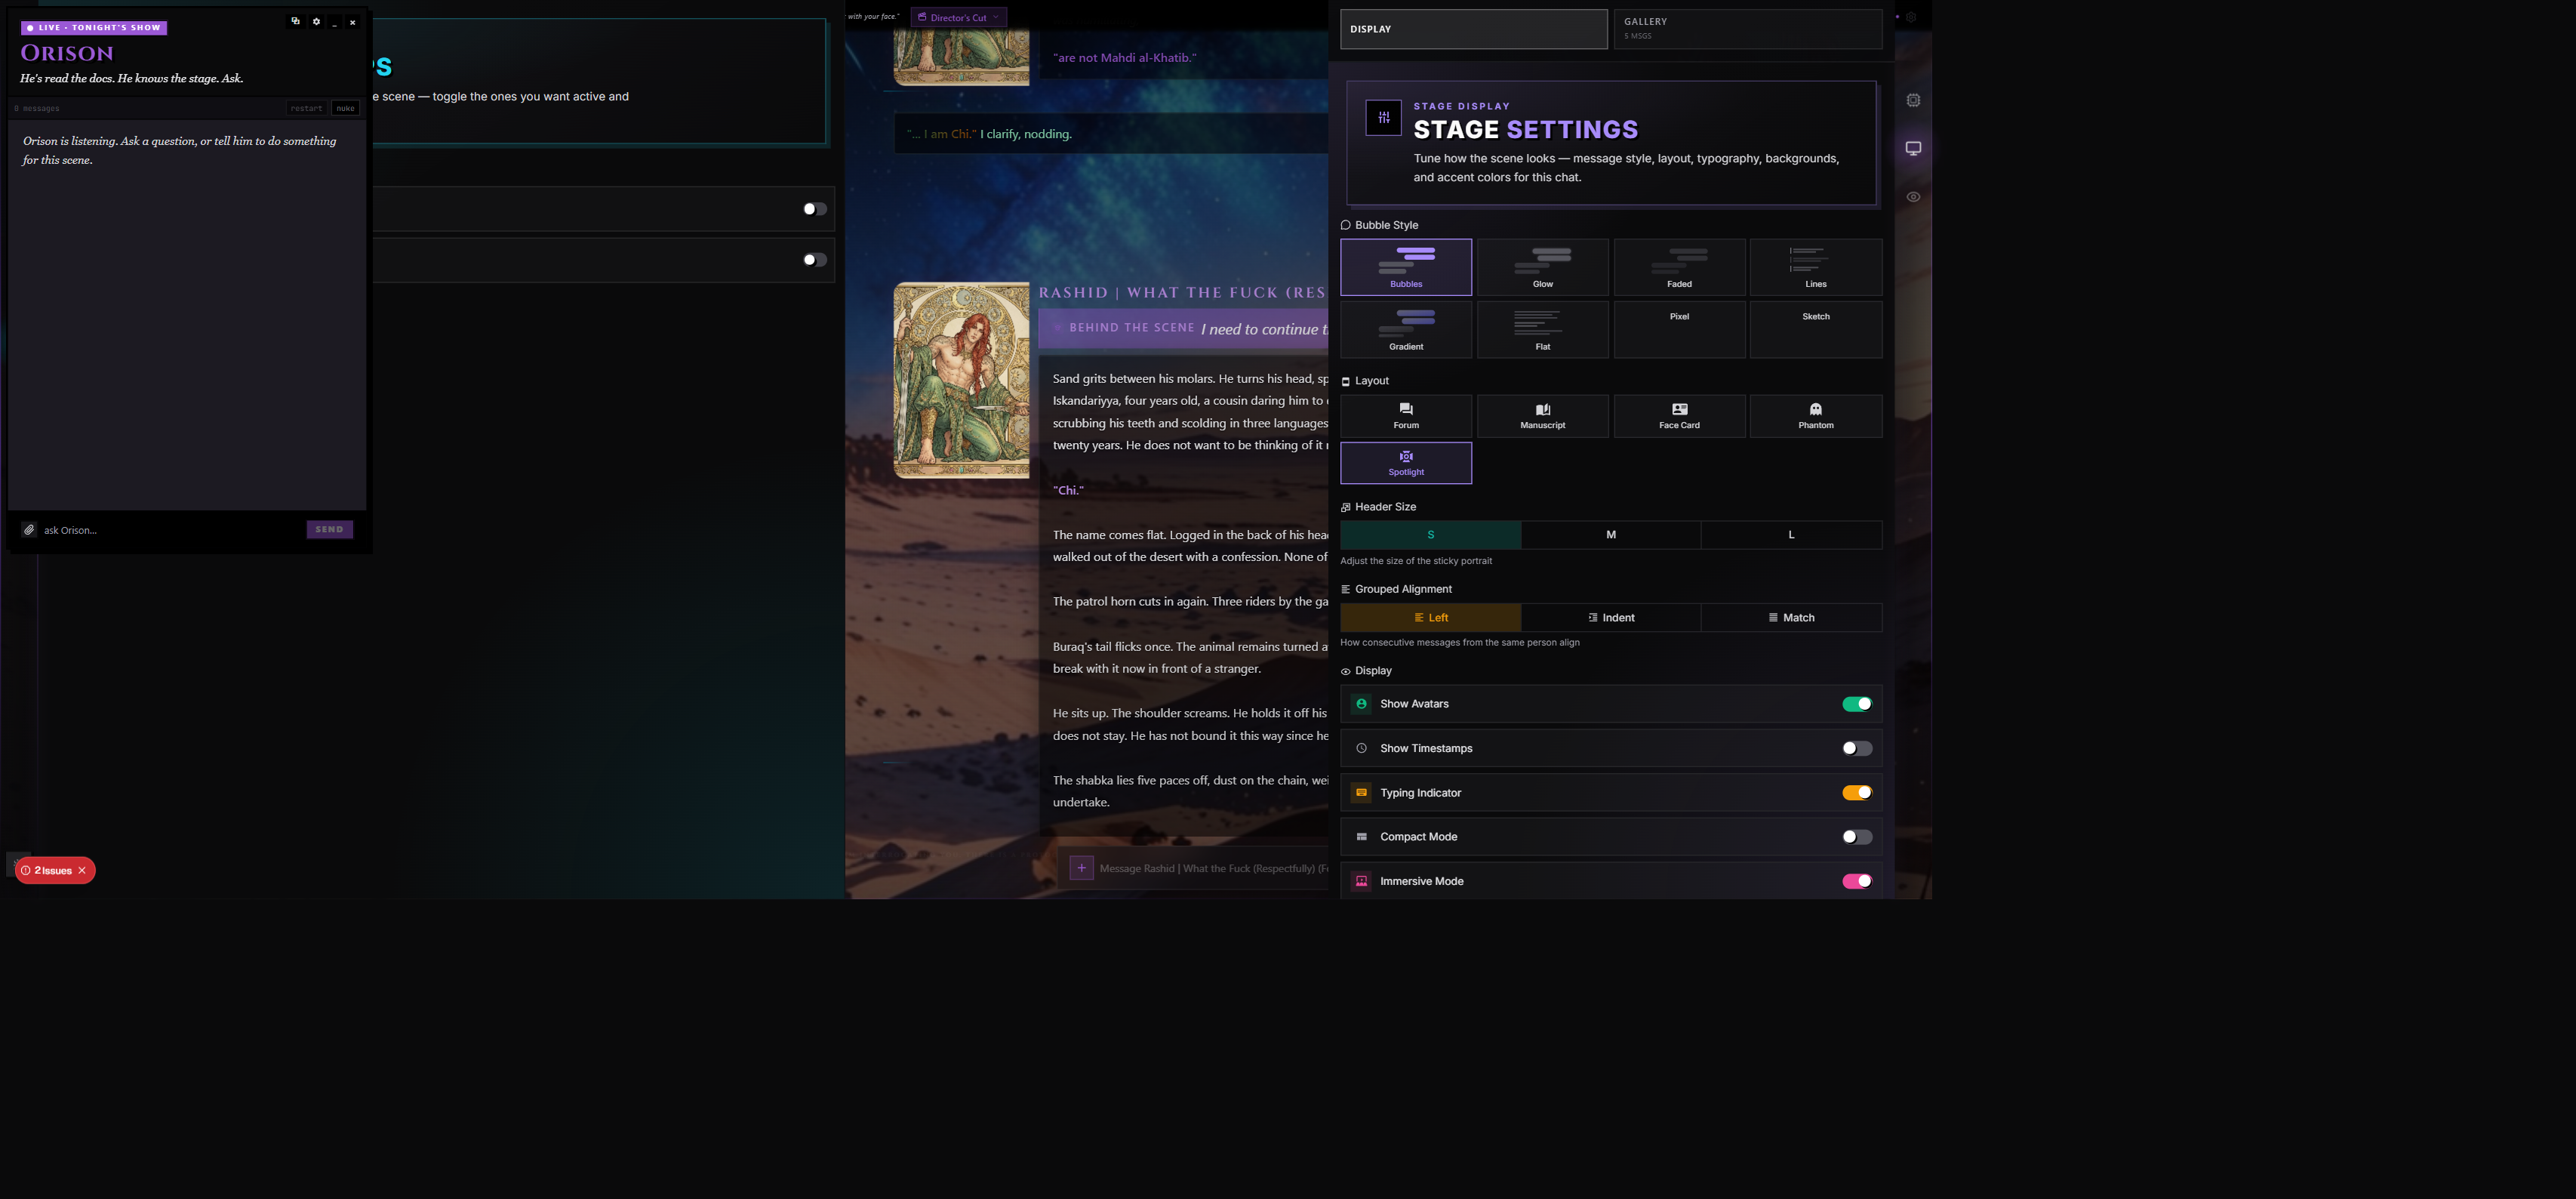
| Message style (Bubbles, Glow, Faded, Lines, Gradient, Flat, Pixel, Sketch) | Stage → Display |
| Message layout (forum, manuscript, facecard, phantom, spotlight) | Stage → Display |
| Message bubble opacity (slider) | Stage → Display |
| Message font size + color (per role) | Stage → Display |
| Show timestamps / avatars | Stage → Display |
| Compact mode | Stage → Display |
| Accent color source | Stage → Display (see below) |
| Background (image, video, gradient, embed) | Stage → Display |
| Per-character background | Cast → Character |
| Scene audio / Spotify | Stage → Spotify (if connected) |
| Wing label visibility | Stage → Display |
| Hide Wings (collapse rails permanently) | Stage → Display |
| Active model / provider | AI → Model |
| Sampler profile | AI → Sampler |
| Active persona | Cast → Persona |
| Active lorebooks | World → Lorebook |
| Active guides | Prompting → Guides |
| Author Note | Prompting → Author Note |
| Per-prompt toggles (this scene only) | Prompting → Preset |
| Active regex scripts | Post → Regex |
| Active post-prod passes | Post → Post-Prod |
| Active stagecraft props | Props |
| Tracker modules (Battle, Map, Quests, etc.) | Immersion (right rail) |
| Auto-scroll mode | Stage → Display |
Accent Color Source
The scene's accent color (used for highlights, the send button, message borders, the streaming bar) can be sourced from five places:
| Source | What it uses |
|---|---|
| Preset | The preset's accent color |
| Profile | Your account's default accent |
| Persona | Your active persona's signature color |
| Character | The character's signature color |
| Custom | A hand-picked color for this scene only |
Pick whichever feels right. Character is a popular default — every scene takes on the visual identity of who you're talking to.
Mobile Differences
The chat surface adapts to small screens.
Rails Become a Dock
Both rails fold into a single floating dock at the bottom of the viewport. Tap a category to expand it; tap a wing to open the panel.
Action Buttons Are Tap-Toggled
Hover doesn't exist on touch devices. Tap a message once to surface its action buttons; tap again to hide them. Double-tap left for previous swipe, double-tap right for next swipe / regenerate. The swipe controls are sized to a 44×44 hit target to match accessibility minimums.
Long-Tap to Delete
Long-press the send button to surface the bottom-sheet message-delete menu without going through the row buttons. RoleCall provides haptic feedback (a quick vibration) when the long-press registers.
Discord-Style Attachment Menu
The + button opens an attachment sheet laid out for thumb reach, with image upload, impersonation, and the same quick-tools the desktop popover has. The sheet has its own back button to switch between Attachment view and Impersonation view.
Send Behavior
Enter creates newlines on mobile (so on-screen keyboards don't sabotage your draft). You must tap Send to submit. Long-press the Send button to expose alternate actions like Send Only and Polish Input.
Configure on the Go
The configure stepper, wings, and most modals work in portrait orientation. A few denser surfaces (Compendium tree editor, branching tree visualizer) prefer landscape — RoleCall doesn't lock orientation, it just renders dense panels with horizontal scroll.
Keyboard Considerations
Mobile keyboards eat the bottom 40–50% of the screen. The chat scrolls to keep the active message in view when the keyboard opens. The compose bar rides up with the keyboard; it doesn't get pushed off-screen.
Keyboard Shortcuts
A scene supports a focused set of shortcuts. Press Ctrl+/ for the in-chat shortcuts modal.
Global
| Shortcut | What it does |
|---|---|
| Ctrl+/ | Open keyboard shortcuts help |
| Esc | Cancel generation / close open wing / close modal |
| Ctrl+Shift+S | Open settings |
| Ctrl+F | Search inside the current scene |
| ` (backtick) | Toggle wing collapse (slim mode) |
Chat
| Shortcut | What it does |
|---|---|
| Enter | Send message (desktop, blocked on touch devices) |
| Shift+Enter | New line in draft |
| Ctrl+Enter | Send (works as a backup, even when an autocomplete is open) |
| Ctrl+Shift+R | Regenerate last response |
| Ctrl+Shift+C | Continue generation |
| Ctrl+Shift+I | Impersonate (have AI write your next message) |
| Arrow Up (from empty input) | Edit your last message |
| Arrow Left | Previous swipe |
| Arrow Right | Next swipe |
| Tab | Cycle through swipes |
| Ctrl+Z | Undo last action where applicable |
Editing
| Shortcut | What it does |
|---|---|
| Esc | Cancel edit |
| Ctrl+Enter | Save edit |
On Mac, Ctrl maps to ⌘ for all shortcuts.
Search Inside a Scene
Press Ctrl+F to open the in-chat search overlay. Type to filter messages by content; matching messages are highlighted and the count appears in the bar. Up / Down jumps between matches. Esc closes the overlay.
When the Prompt Inspector is open, Ctrl+F passes through to the browser's native find so you can search inside the inspector contents instead.
Screenshot
A camera icon in the scene header (Standard Mode) opens the Screenshot modal — pick a message range, set a background style, and save a PNG of that portion of the chat. Useful for sharing standout moments to your portfolio, to Stage Whispers, or just to a friend.
The Rail Wings at a Glance
Each wing has its own deep-dive doc. This is the quick tour.
Left Rail
Quick Play — Fast setup for the most-changed knobs: model, sampler, preset, persona, lorebook, DM mode, image automation. Use it for one-tap reconfiguration without diving into individual panels. See Generation Controls.
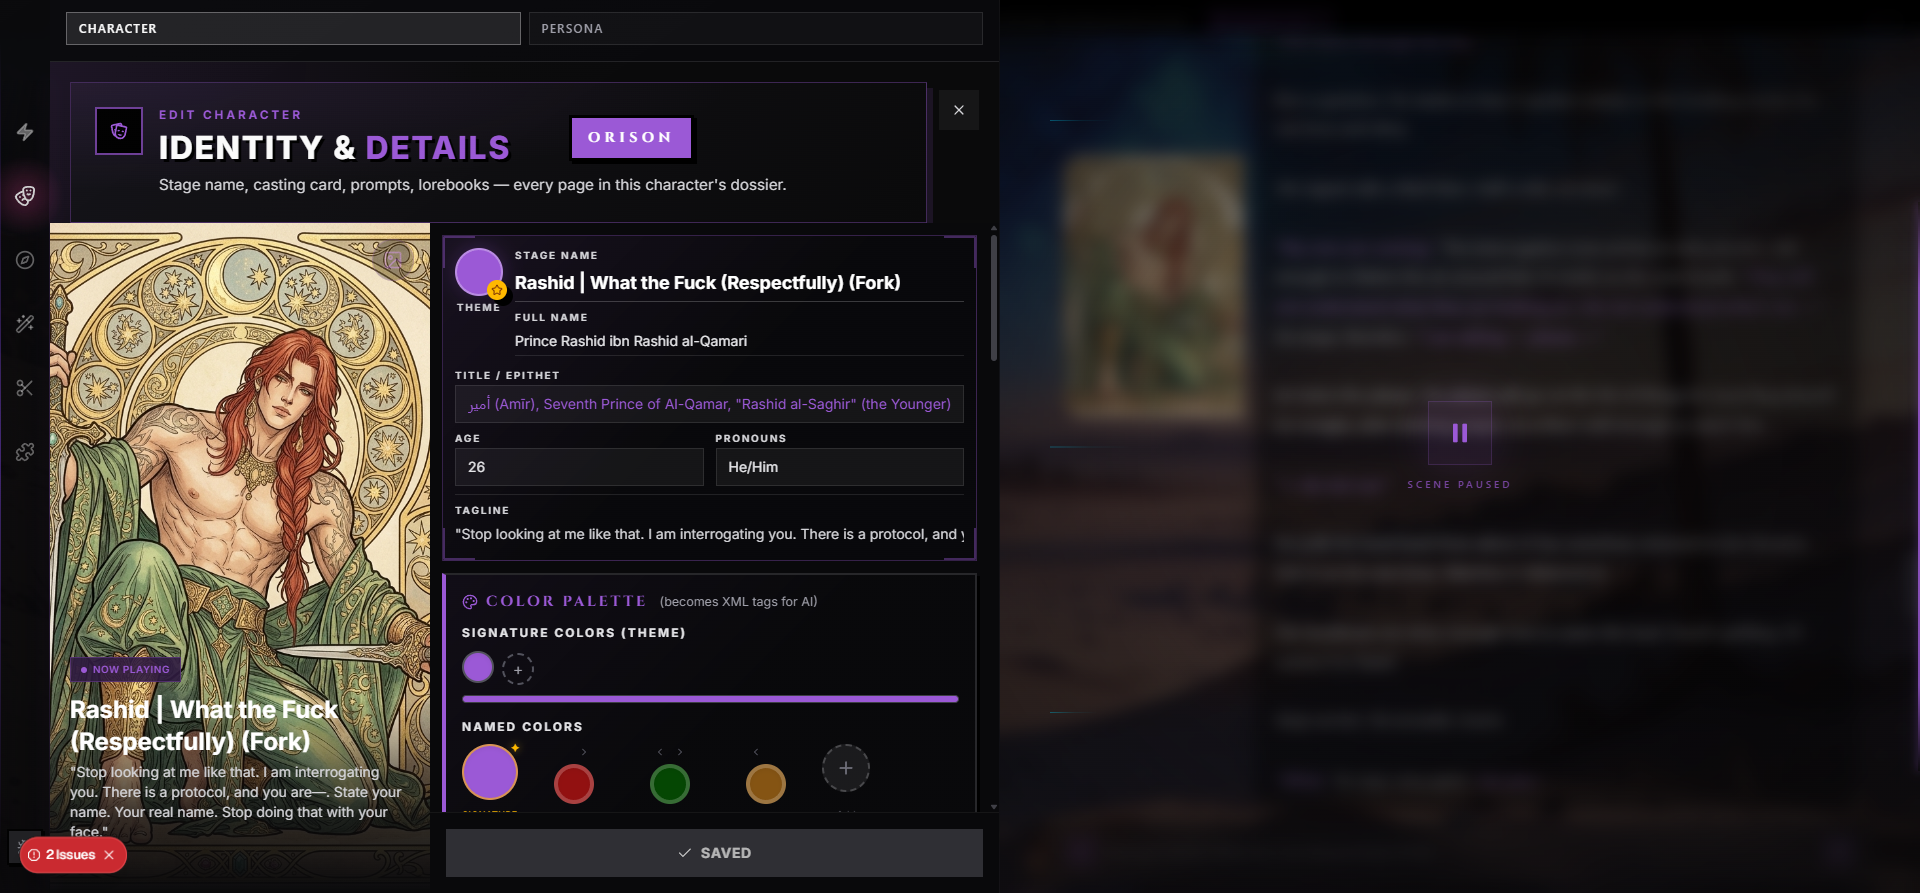
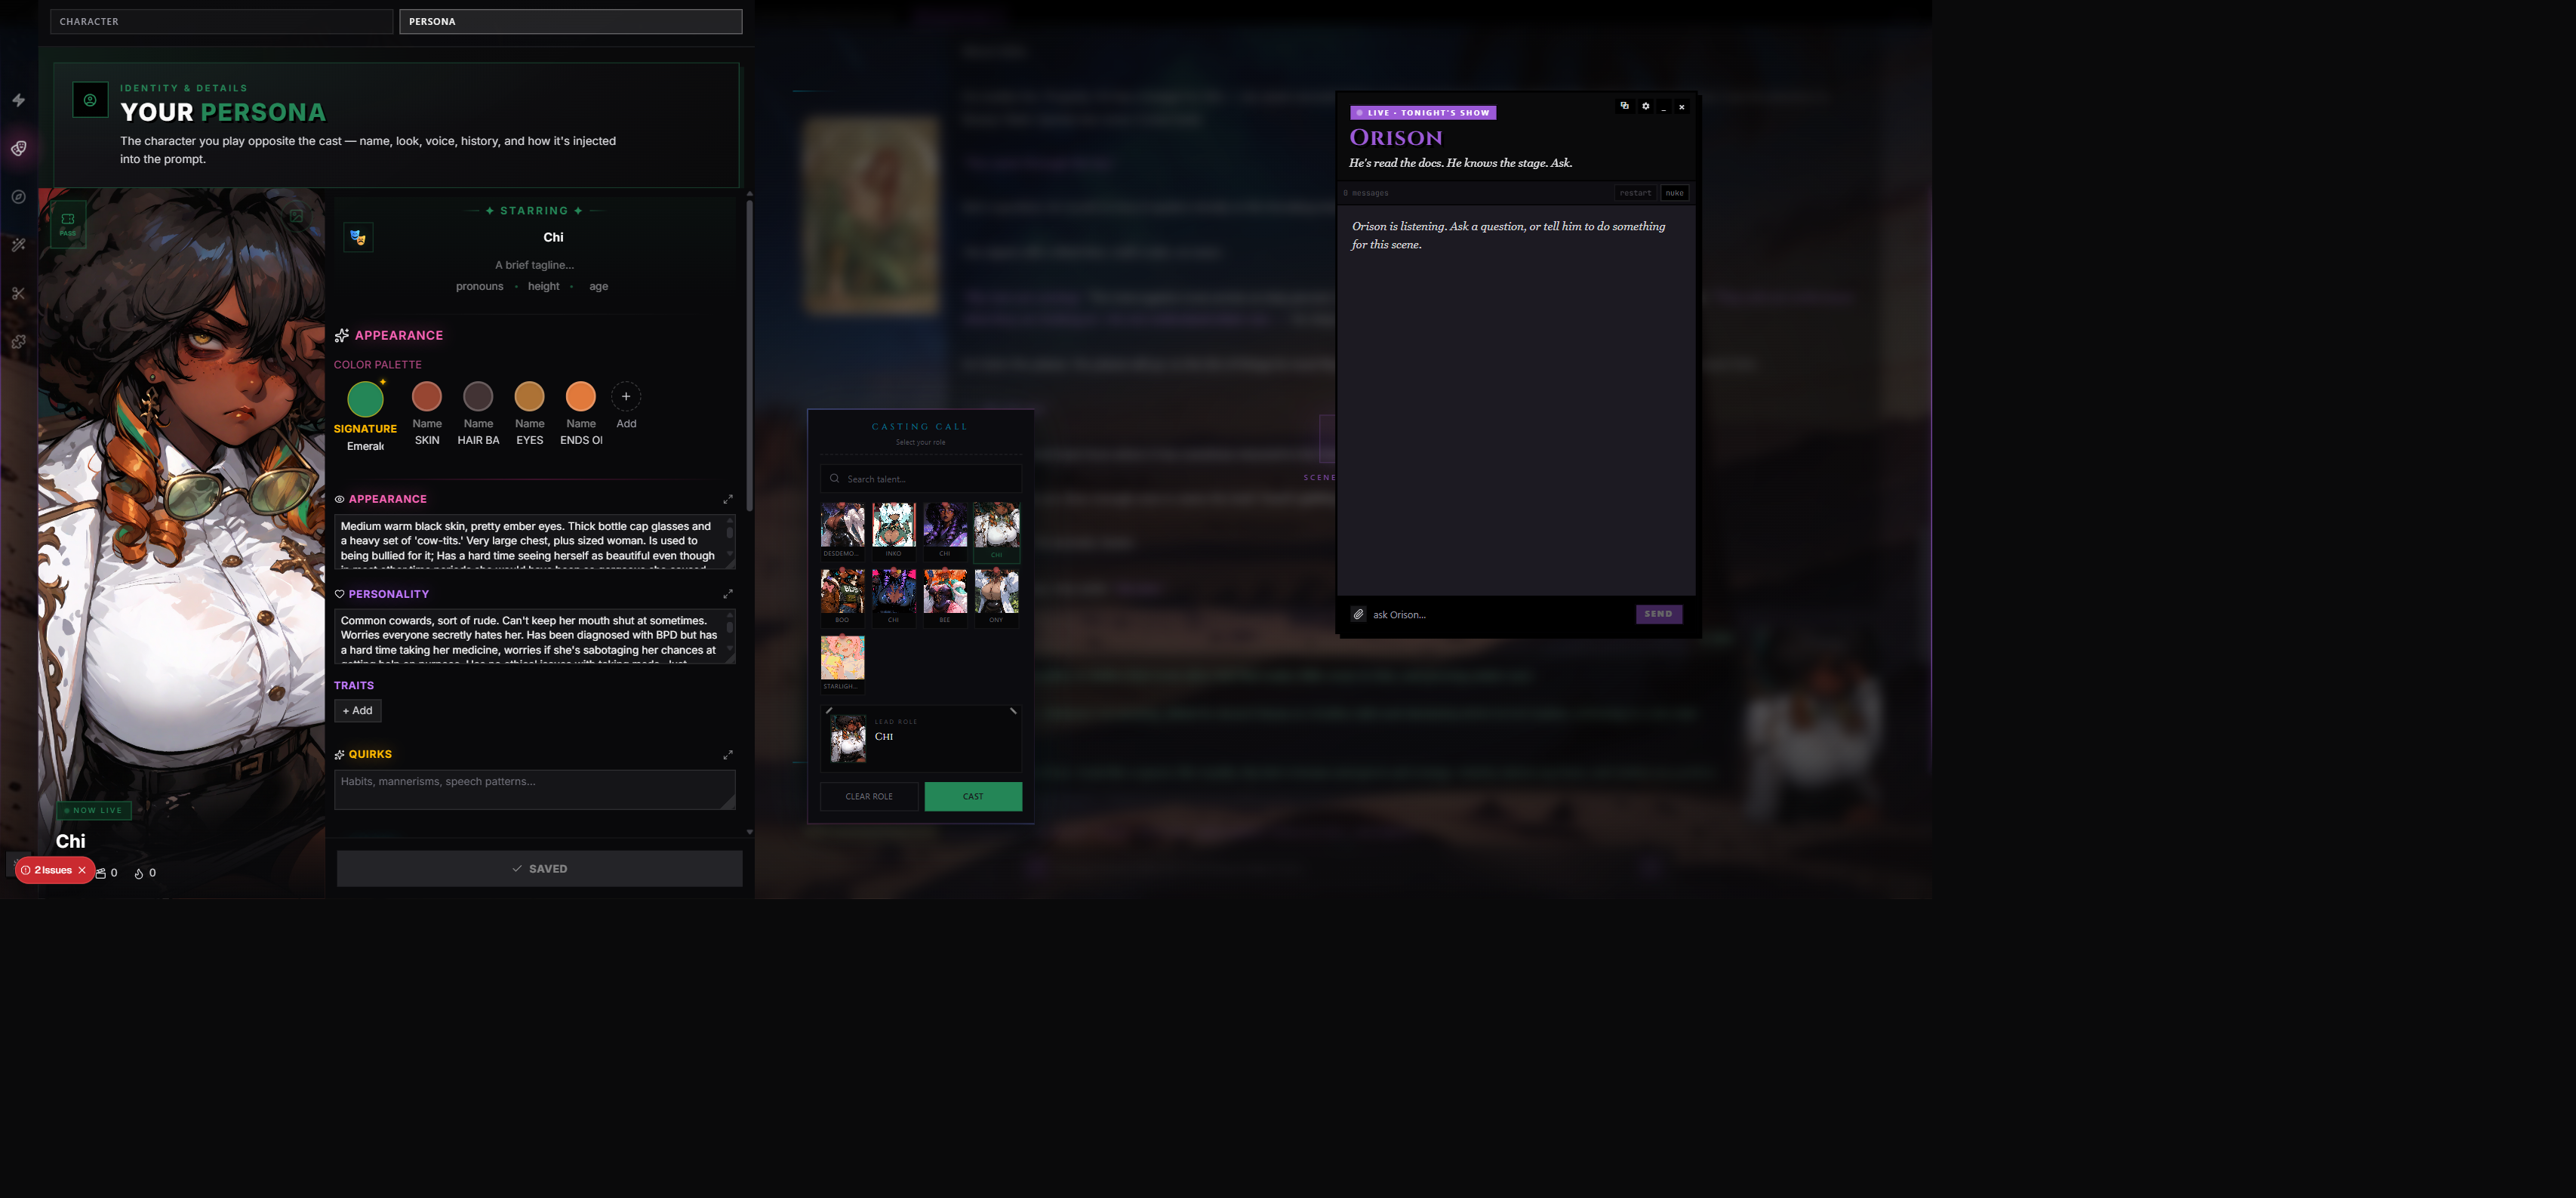
Cast — Character + Persona. The character tab shows fields, alt arts, variants, token counts, and overrides. The persona tab picks who you are in the scene. See Characters and Personas.
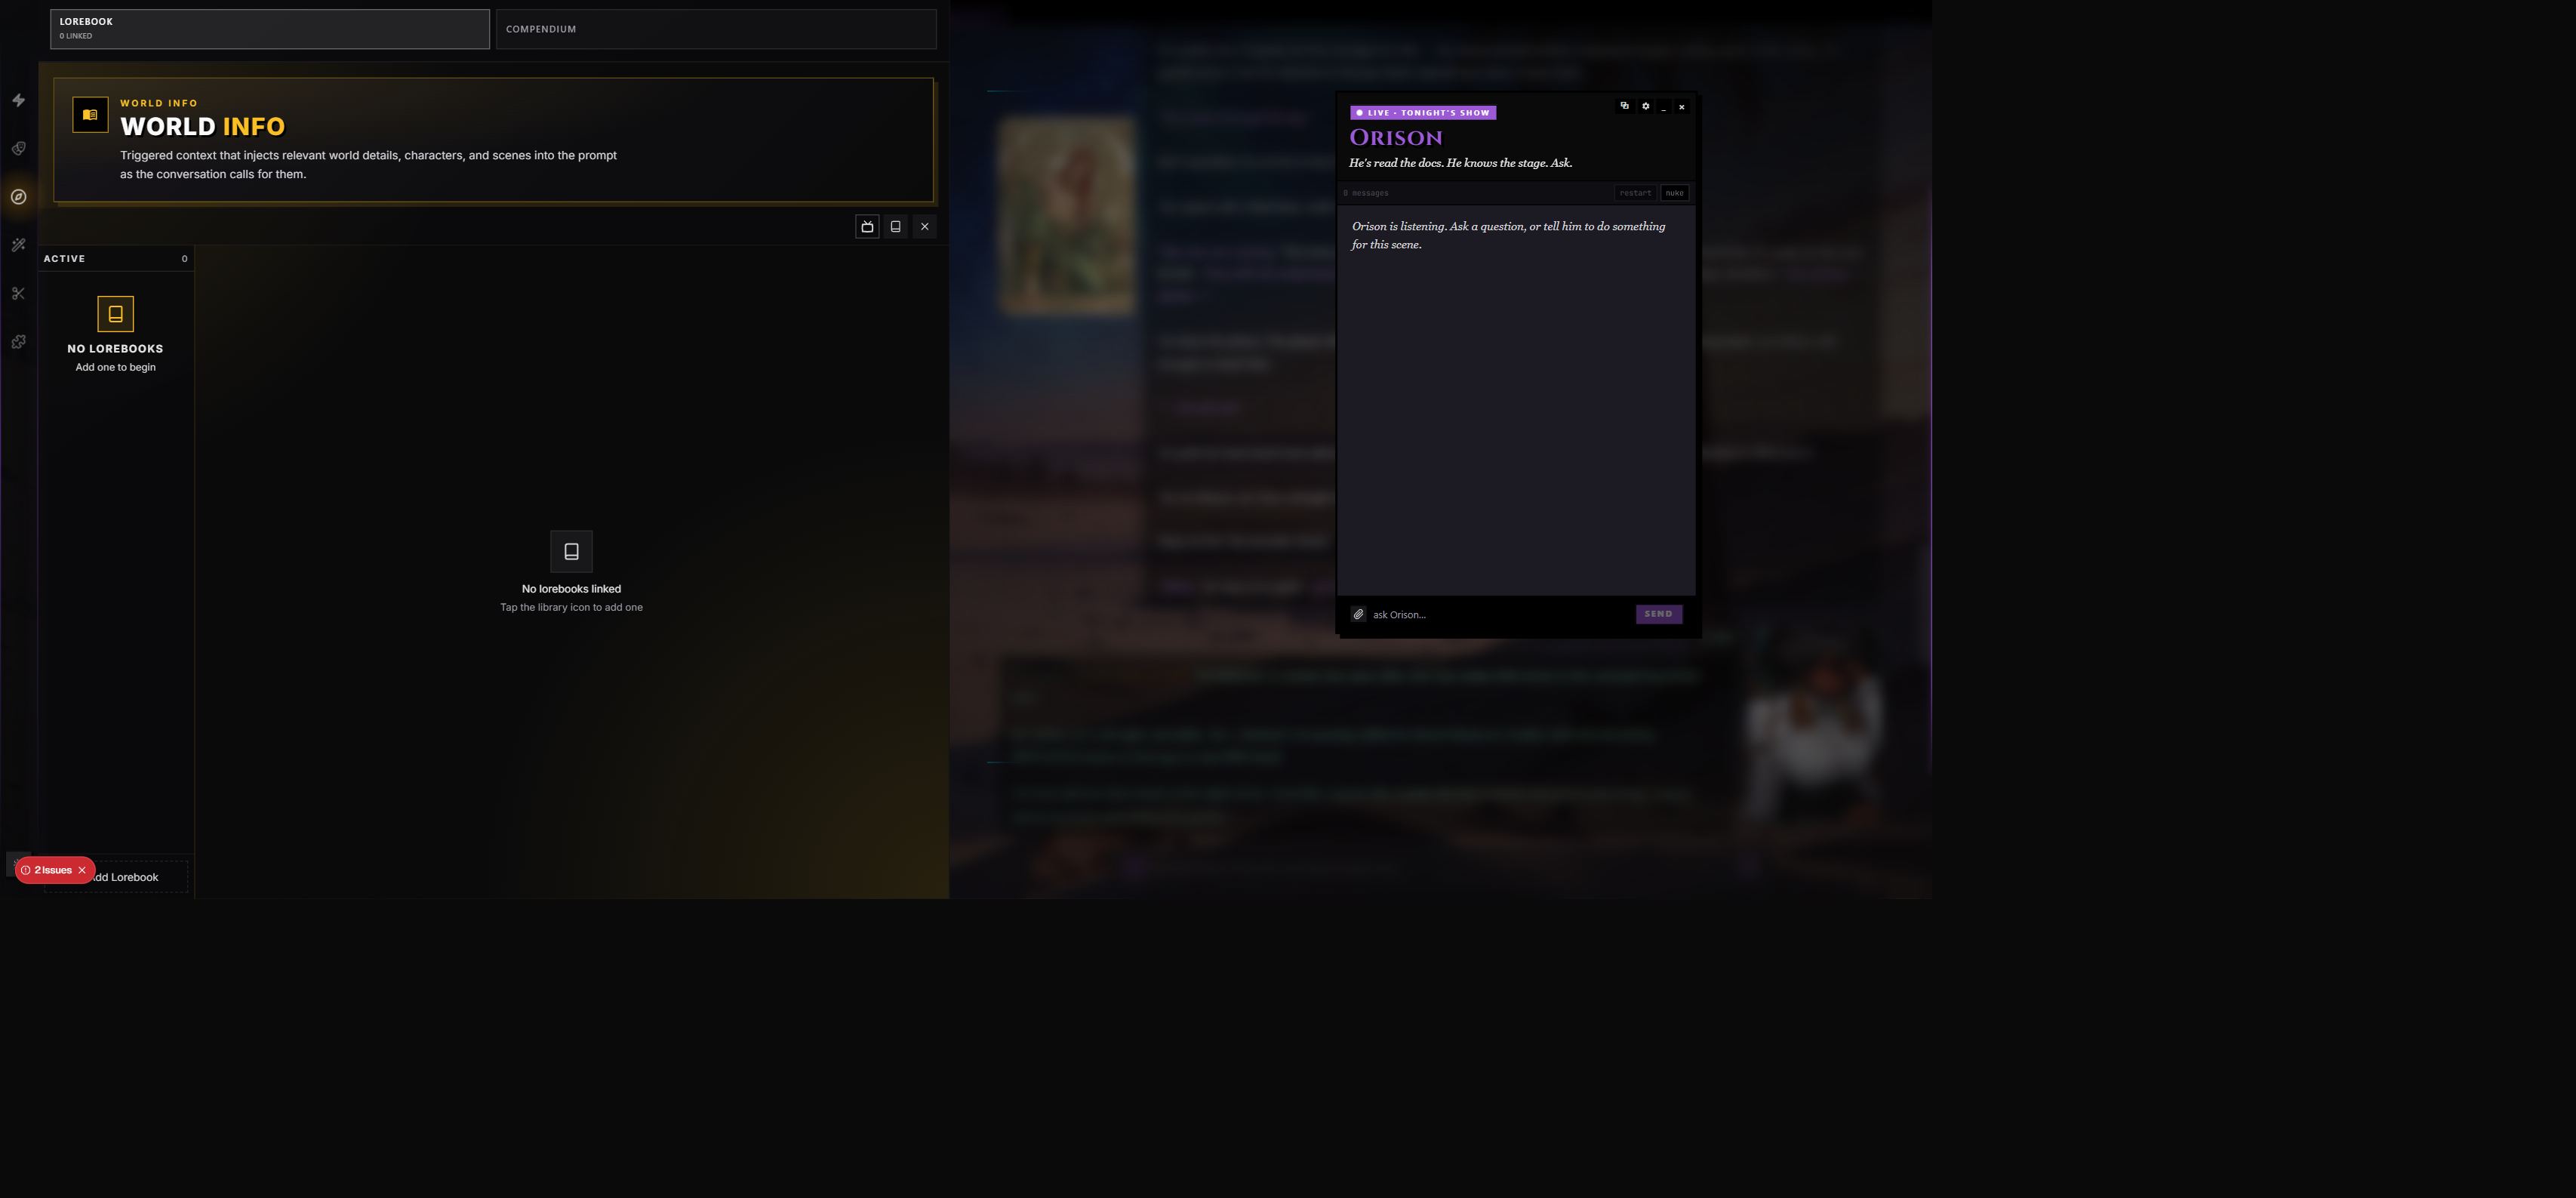
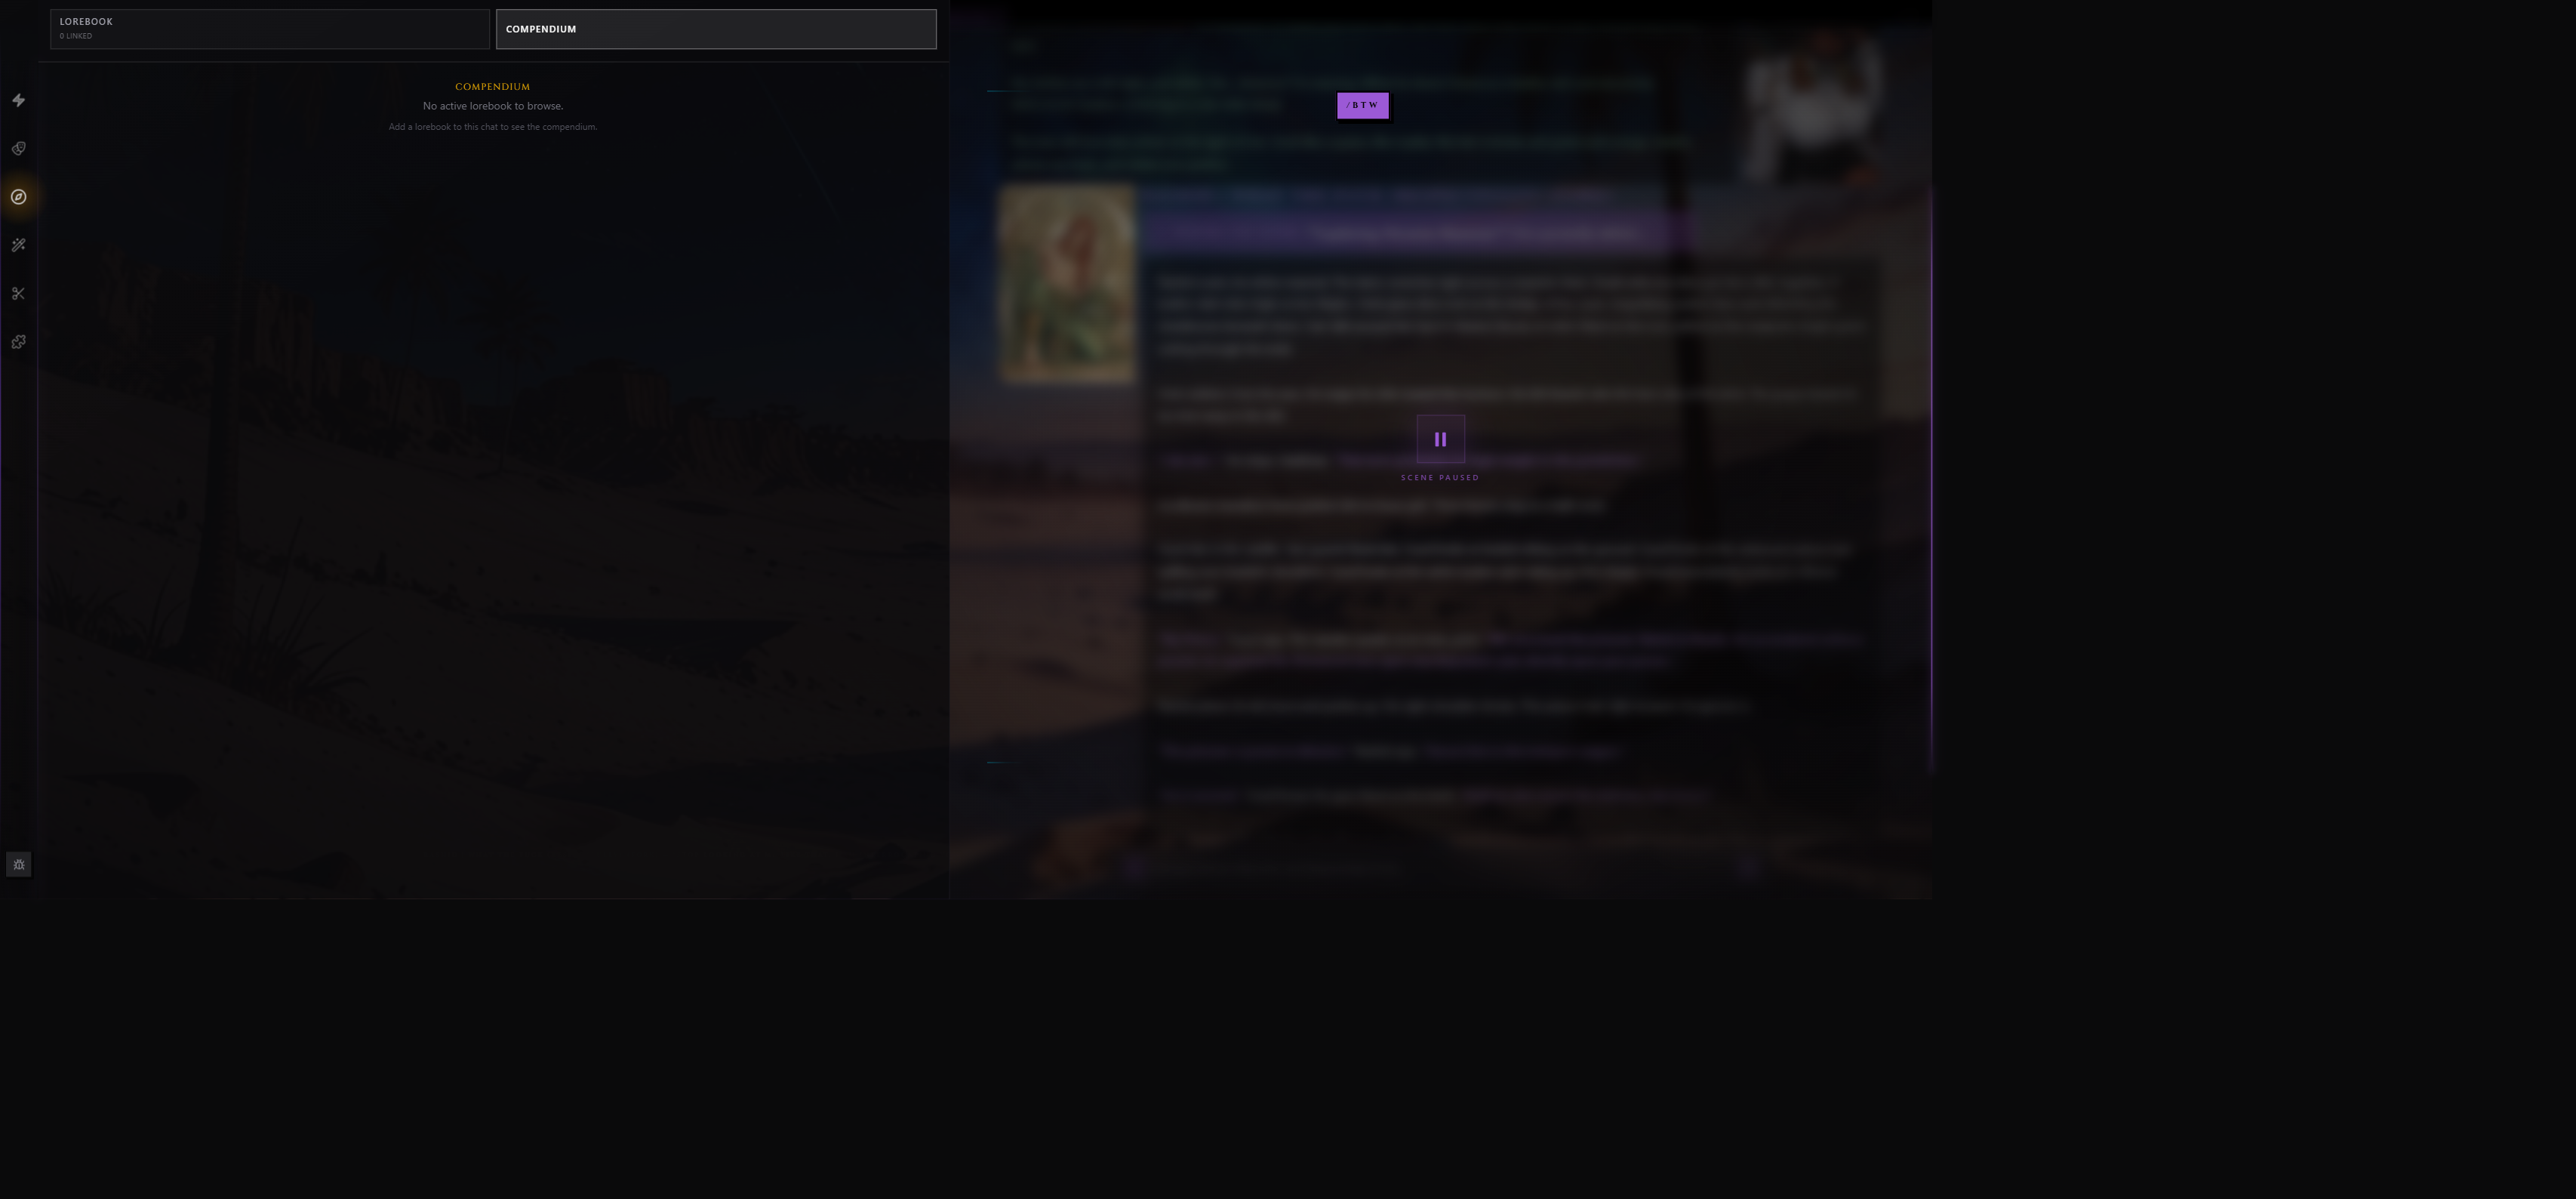
World — Lorebooks + Compendium. Lorebooks attach world info to the scene; Compendium is the AI-managed knowledge tree the system builds and reads from as you chat. See Lorebooks and Compendium.
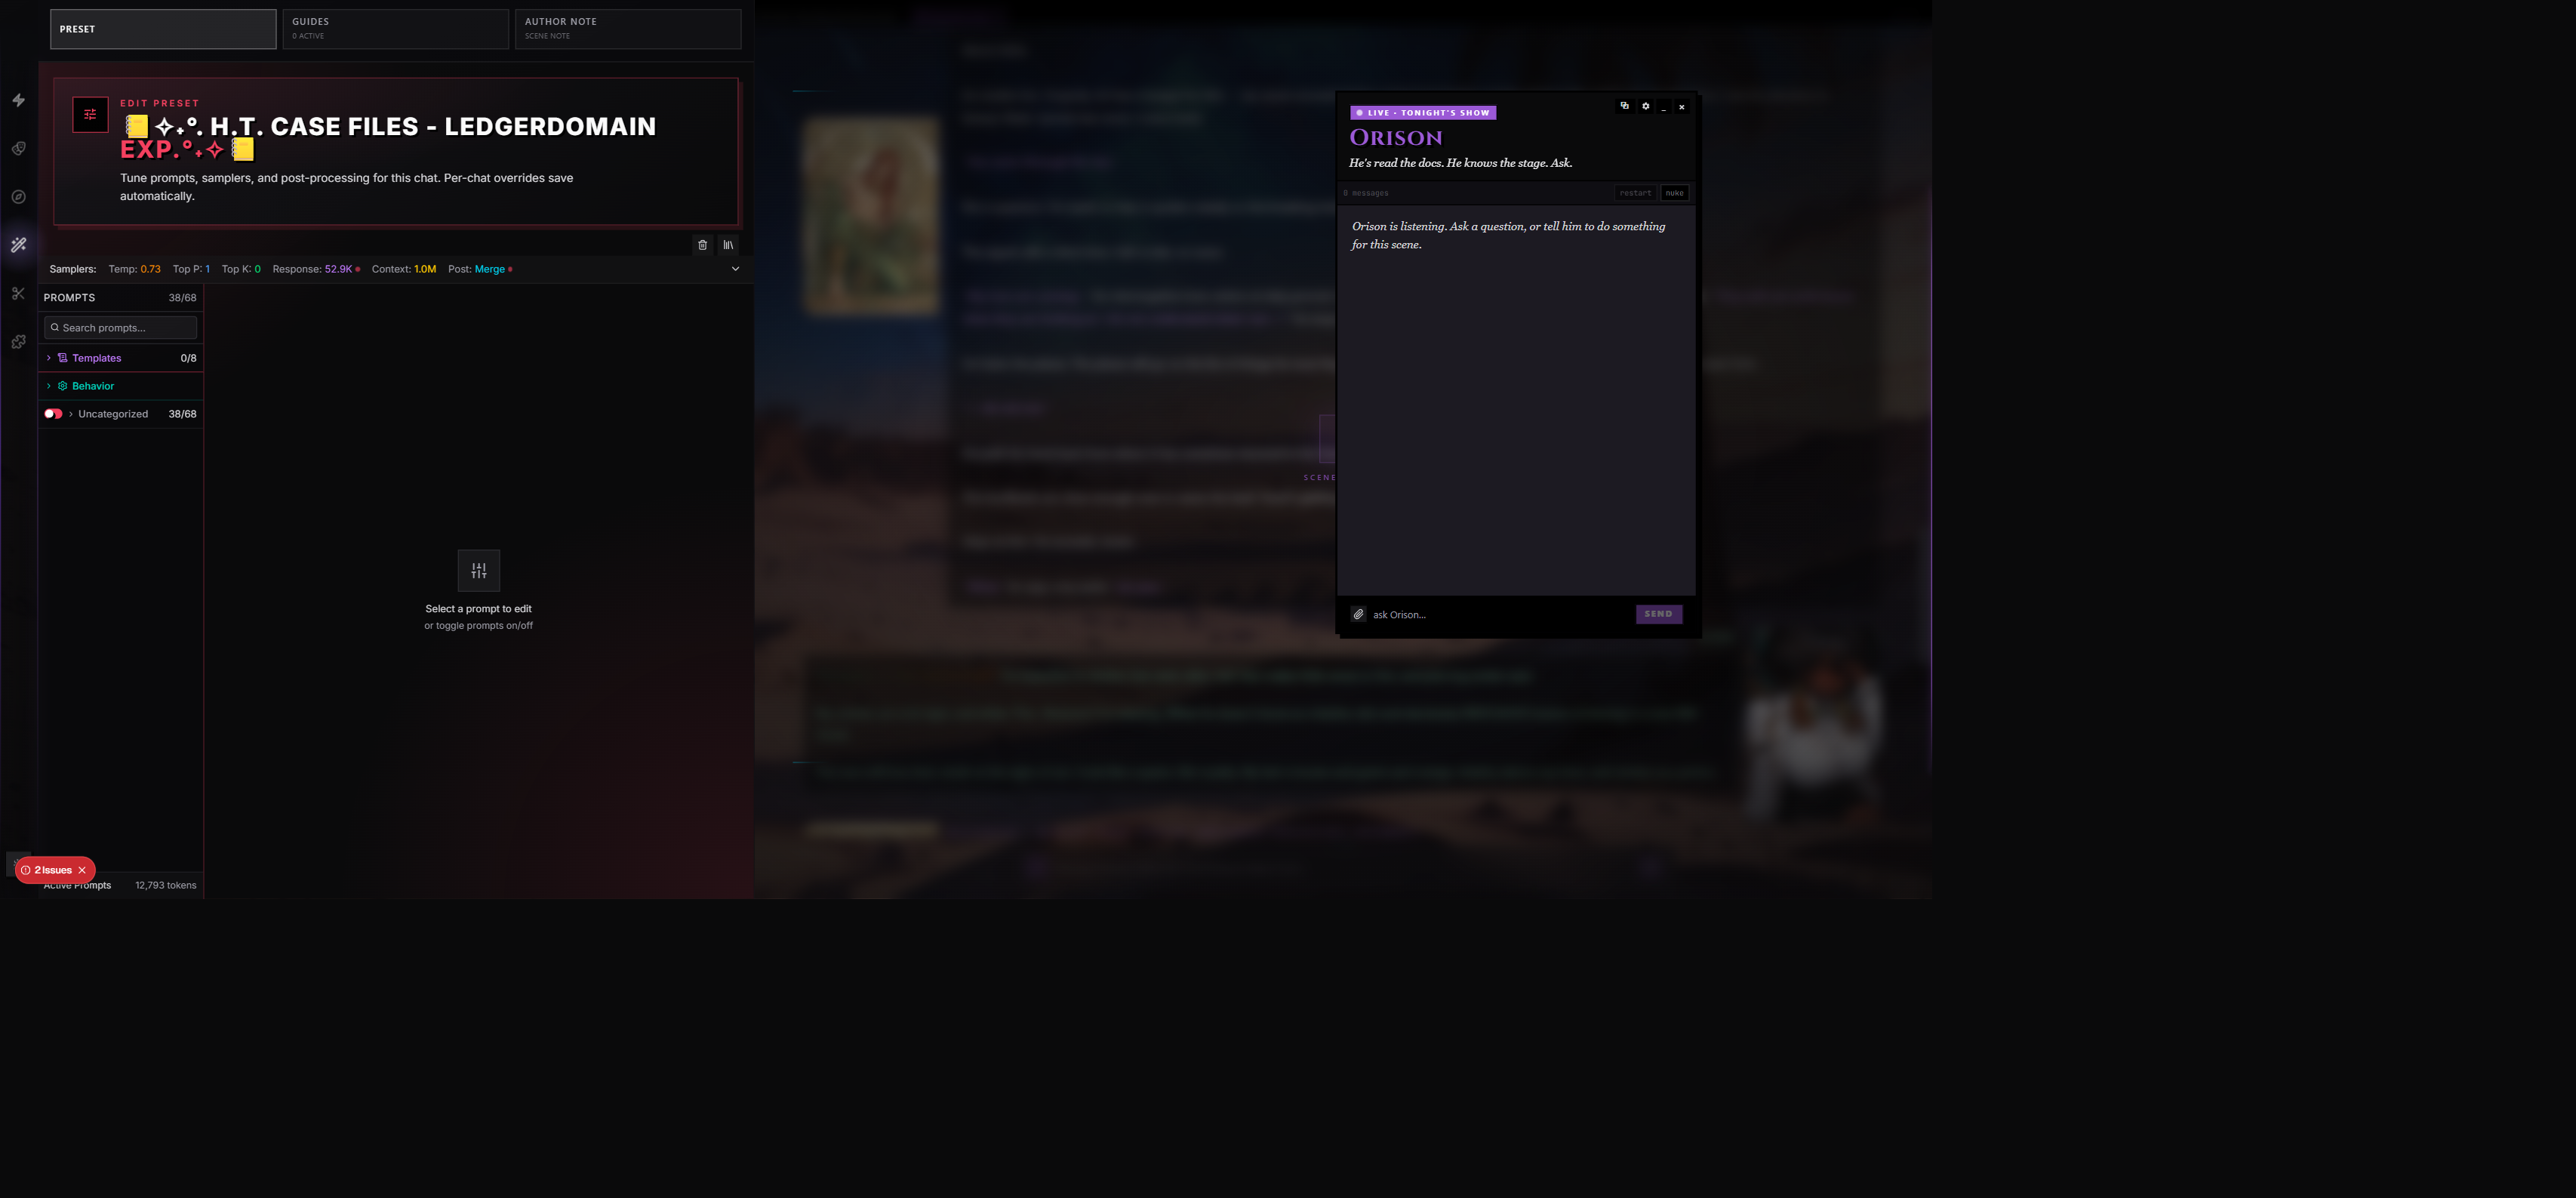
Prompting — Preset + Guides + Author Note. The Preset tab shows the preset's prompt stack with per-scene toggles. Guides inject writing direction. Author Note injects a persistent stage instruction. See Presets.
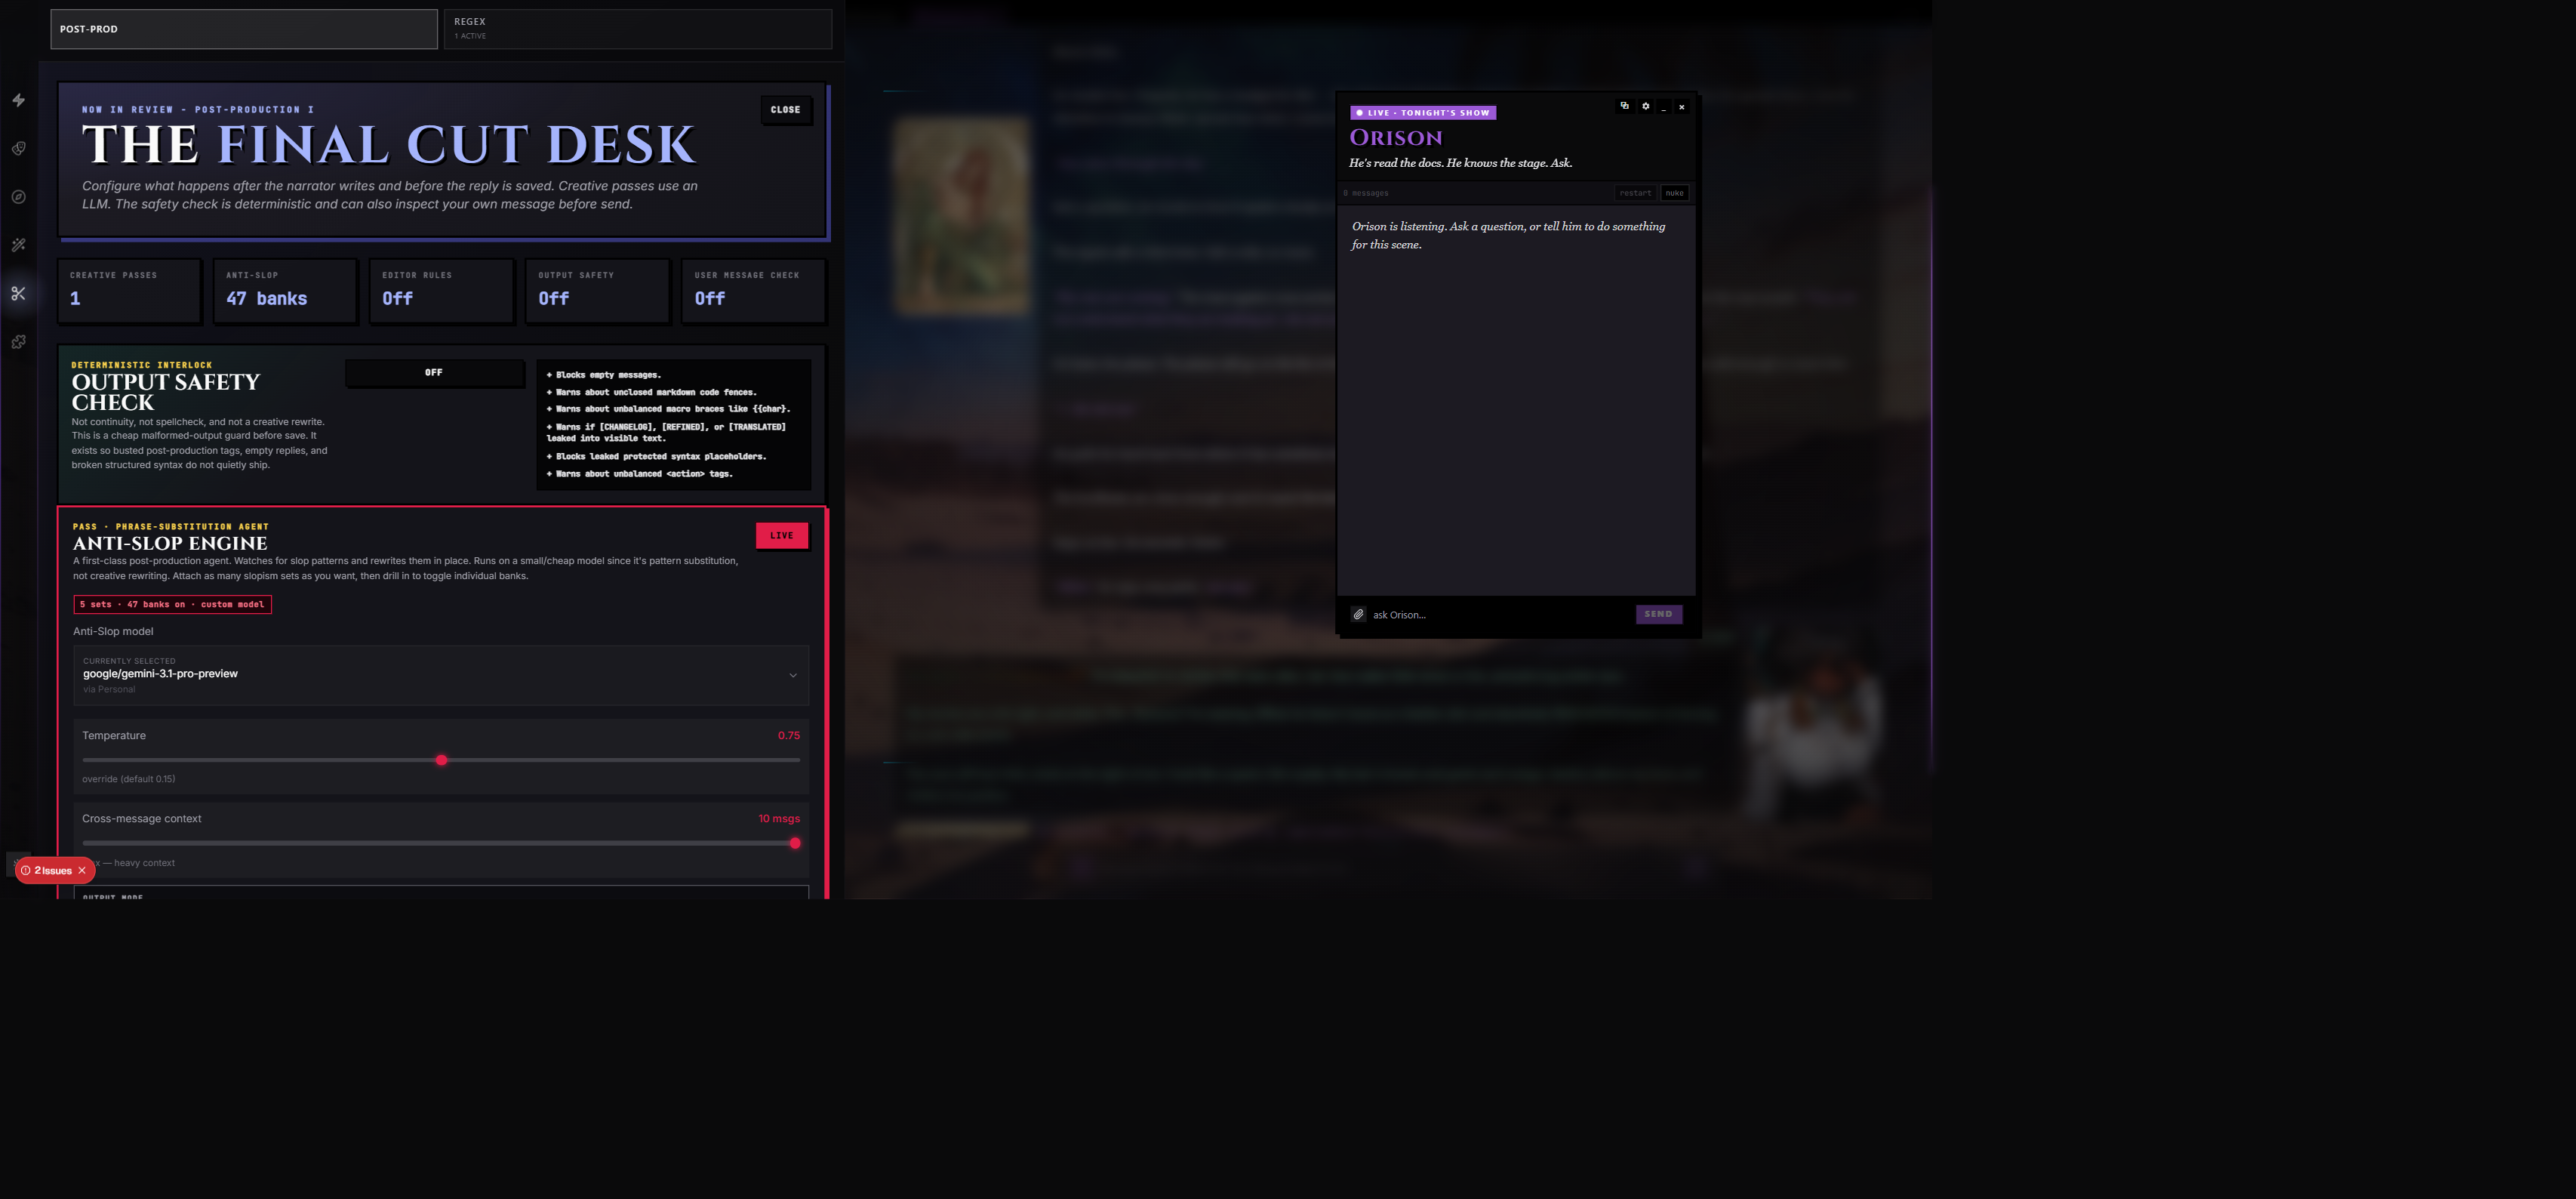
Post — Post-Production passes (Anti-Slop, Editor, Translator, Custom Agent) + Regex rules. The center for everything that runs after the AI replies. See Post-Production.
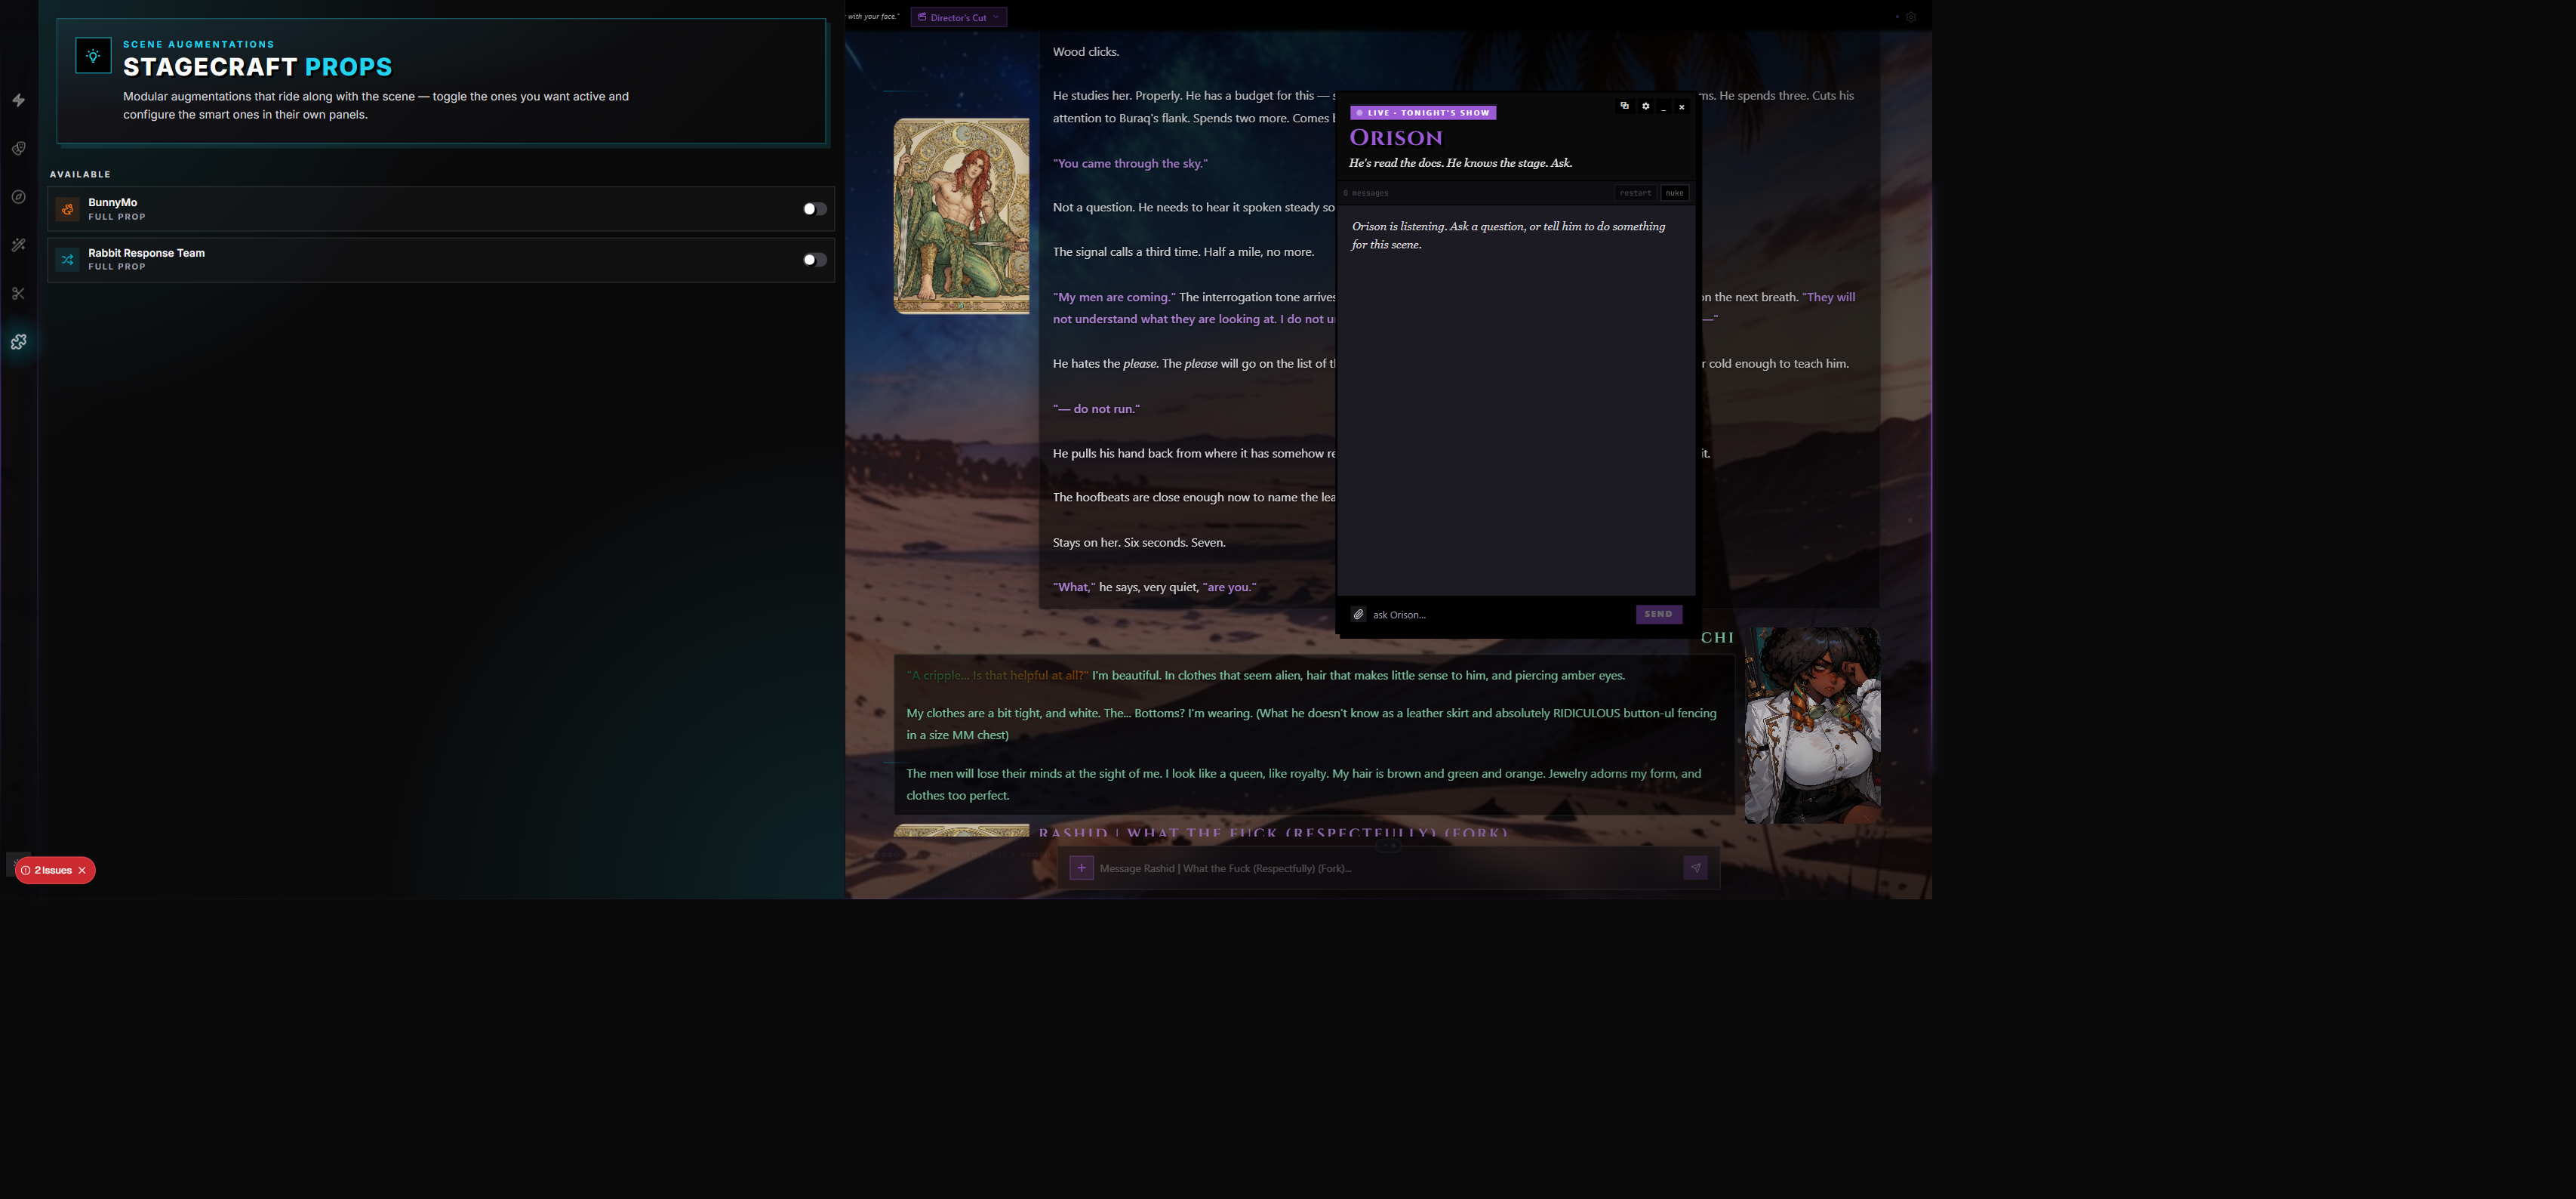
Props — Stage props and special scene tools the character may have brought in (mini-games, generated actions, in-scene gadgets). See Stage & Utilities.
Right Rail
AI — Model + Sampler. The model tab swaps which provider/model is generating. The sampler tab tunes temperature, top-p, penalties, and the rest. See Providers & Keys and Generation Controls.
Stage — Display + Image Gallery + Spotify. Display covers message style, layout, background, accent color source, and other visual settings. Image Gallery shows everything generated or attached in the scene with a message-count badge. Spotify (if connected) controls scene audio. See Stage & Utilities.
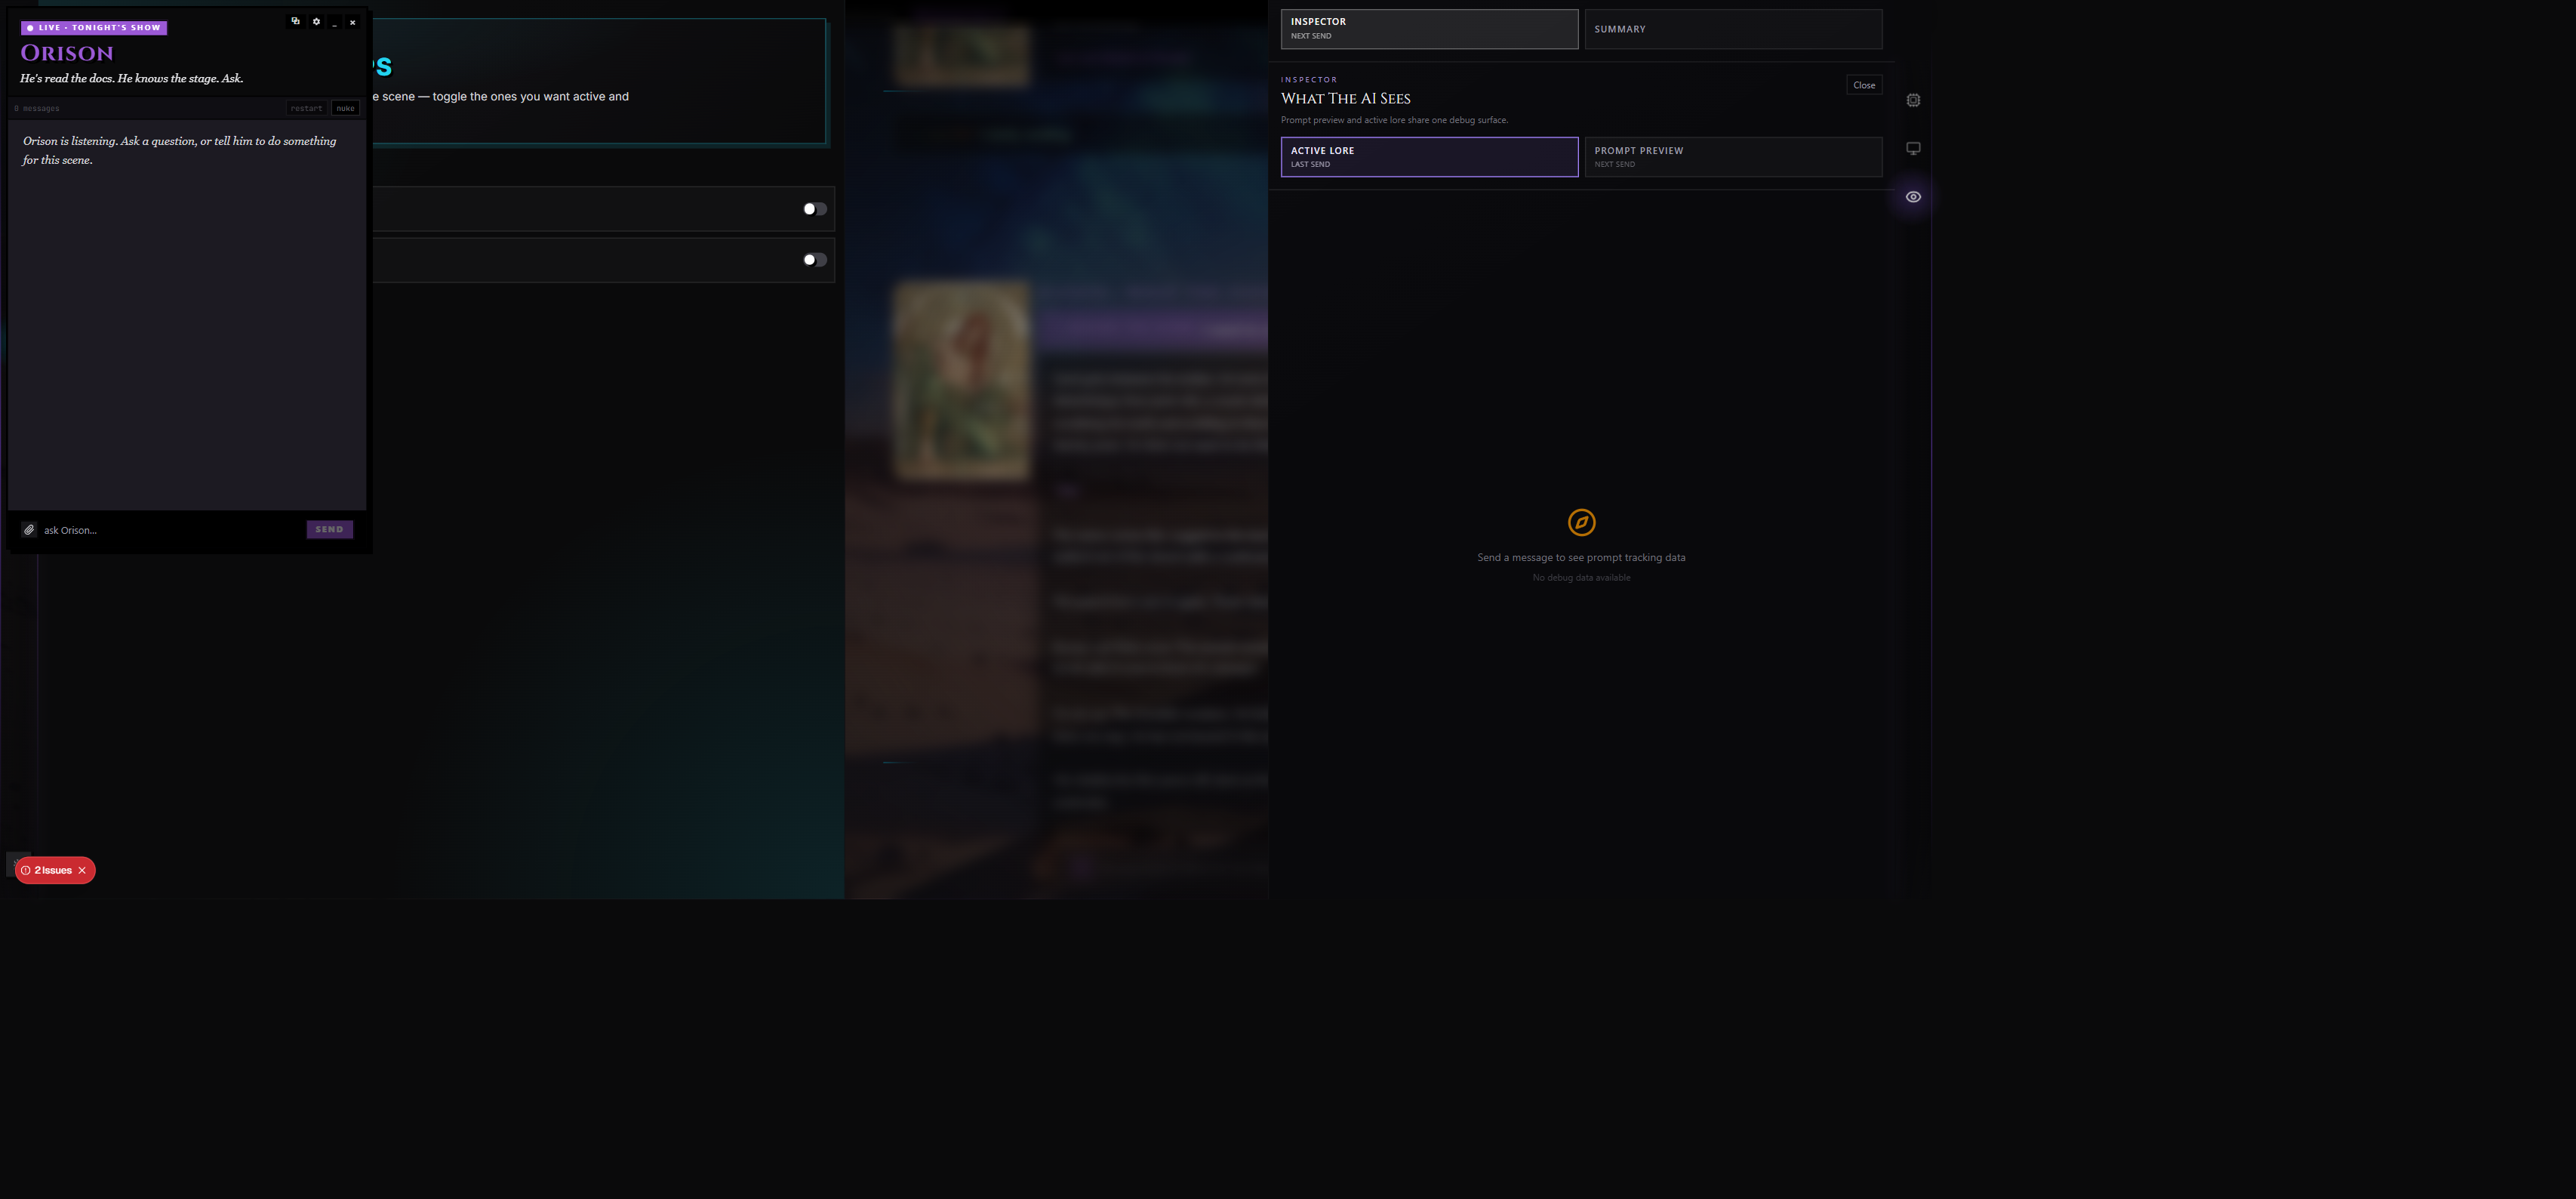
Context — four tabs: Inspector (next send), Summary, Active Lore (last send), and Prompt Preview (next send). Inspector shows exactly what will be sent on the next turn. Active Lore shows which lorebook entries fired on the previous message. Prompt Preview is a live token-aware preview of the assembled prompt for the next message.
Director — Story Director. The DM-mode panel covering pacing, chapters, scene state, and tool activity. See Story Director.
Immersion (when modules are enabled) — Storyboards plus every tracker module you've turned on: Battle, Resources, Relationships, Party, Map, Quests, Inventory, Corruption, Parallel Events, Bonds, Knowledge, Calendar, Biological Cycles, Spellbook, Gossip, Memory Journal, Creature Codex. Each tracker has its own panel. See Story Director.
Group Chats
A scene can hold more than one character. Group Chats put multiple AIs in the same conversation, with their own personas, presets, and turn-taking logic. The chat interface is mostly the same — same compose bar, same wings, same actions — with one important addition: Cue Character lets you pick who speaks next. See Group Chats for the full picture.
Visual Novel Mode
Scenes can be played as visual novels — full-screen sprite-and-dialogue presentation instead of a chat scroll. VN mode runs on the same scene data; switching modes doesn't fork or restart anything. See Visual Novel.
Empty and Edge States
- No greetings. If a character has no opening message and no alternate greetings, the scene starts on a blank slate. Type the first move yourself.
- No preset. If your account has no default preset, RoleCall falls back to a baseline preset so you can still chat. Set a preferred preset from Account Settings to skip this.
- No model. If your active model isn't reachable (no key, no quota), you'll see a banner explaining the problem and a quick link to the AI wing's Model tab. Until you fix it, Send is disabled.
- Macro warnings. If the assembled prompt contains macros that didn't resolve, a Macro Warning banner appears with a count. Open the
+Tools popover → Debug → Macro Debug to see which macros got stripped and why. - Decryption recovery. If RoleCall can't decrypt a chat's history (recovery phrase wasn't entered, or the chat was created on another device), a recovery modal walks you through entering the phrase or starting fresh. See Providers & Keys.
- Persistence error. If new messages can't be saved (rare), a red banner warns you to copy any unsaved messages before refreshing. The banner sticks until the underlying issue is fixed.
- Tour overlay. First-time users get a chat tour overlay highlighting the rails, compose bar, and message actions. Dismiss it once and it stays gone.
Beyond the Basics
Branching Tree
Every scene is a tree, not a line. Each AI turn can have multiple swipe variants, and you can branch off at any point to explore an alternate timeline independently — the original path is always preserved. The dedicated visualizer at /scenes/branching-tree/{characterId}/{chatId} shows the whole tree at once: the current path highlighted, dead-end branches, and swipe siblings at every fork. From the visualizer you can jump to any node without losing context, rename Takes, and get a bird's-eye read of how many directions a scene has spread. For quick in-session navigation, the Cast wing's character menu shows the current turn's swipe siblings inline; the full visualizer is for stepping back and navigating the bigger tree structure.
Custom Backgrounds
Upload your own background images via Settings → Backgrounds or via the Stage wing's Display block → Background. Each scene can have its own background — choose from your library of uploaded images, a gradient, a video embed, or leave it transparent. Per-character backgrounds work one level up: a character can ship with a default background that automatically applies whenever you open a scene with that character, so distinctive settings follow the character without manual configuration each time. You can override the character-level default on a per-scene basis at any point, and the override sticks for that scene only. Add as many backgrounds to your library as you like; the picker shows them all and lets you swap freely.
Tips & Common Patterns
Branch before a hard pivot. If you're about to take the scene in a wildly different direction, branch first. You keep the original timeline (Director's Cut) intact and can come back to it.
Use Continue, then Correct. When the AI's reply is almost right but feels short, Continue for length, then Correct to fix tone. Both operations preserve the message rather than rolling fresh.
Hide OOC chatter. Slash commands /hide and /show keep your meta-conversation visible to you but invisible to the AI's context, so it doesn't start writing in OOC voice.
Set the accent color source to Character. It makes every scene visually distinct without manual tweaking — the character's signature color flows through the whole interface.
Turn on Quick Play before fiddling. If you find yourself opening the Model panel, then the Sampler panel, then the Lorebook panel in a row, Quick Play has all three in one place.
The compose bar drafts survive reload. Lost a long reply to a tab crash? Just reopen the scene — what you typed is still in the textarea.
Esc is your friend. It cancels generation, closes the open wing, dismisses modals and popovers. When in doubt, hit Esc.
Use the Inspector when something feels off. Right rail → Context → Inspector shows you exactly what the AI saw on the last turn. If the character's getting confused, the prompt usually tells you why.
Polish Input for non-native typing. If English isn't your first language, Polish Input cleans up your draft before the AI ever sees it — keeps the AI from picking up rough phrasing.
Use Compare for tough decisions. When you've got two swipes and can't pick, hit the Compare icon and read them side by side instead of flipping back and forth.
Cue with @ in groups. Mentioning a character with @ is a soft cue to the orchestrator about who should respond next — lighter than locking in a specific responder.
Press backtick when reading. When the rails get in the way of long scenes, ` collapses them to a thin strip and gives you the full reading column.